- Home
- Newsletters
- Services
-
Inspirational Features
- The Marcus Family: Equipped with Life Skills Founded in Faith
- A Match Made in Heaven: Revealing the Romantic Heart of God
- The Speirs: A Testimony of God's Redemptive Love
- The Cunanans: Frontliners in the Headlines
- St. Aloysius Gonzaga: The Frontliner of 1590
- From desire to design to destiny: an author’s journey
- Featured Author
- The Power of a Husband-Wife Teamwork
- How Blessings Often Come in Disguised Packages
- Kristin at the Irving Farmer's Market
- St. Patrick's Sunday Refugee Ourreach
- Culinary Medicine
-
Guests Posts
- Transform Your Business Processes for Optimal Performance
- Become a Freelance Writer: 8 Tips for Students and Recent Graduates
- Budget-Friendly Modifications for Your Home Office
- Six Steps to Starting a Startup Successfully
- How to Find Time for Self-Care
- Branding Know-How for the Enterpreneur
- How to conquer web-based projects and uplevel your business
- 5 Proven Ways of Acquiring More Referrals for Your Small Business
- Mental Health
- Making a Comeback
- BLOGS
- Support the Inspired Team
- Fundraisers
|
With bread flour and all-purpose flour getting scarce on grocery shelves, it would be a shame to throw away excess starter. Is there a way to use all your sourdough starter or levain?
Watch the video above. It will also show you how to bake sourdough the low-key way because you don’t want to be baking the whole day. There’s also a handy app to calculate your recipe and use up all your levain. Click on the button below.
0 Comments
The biggest challenge and source of frustration for a sourdough baker is to find a rockhard bread in the oven after all the hours you spent feeding the starter, measuring and autolysing, stretching and folding, bulk fermenting, proofing, and scoring.
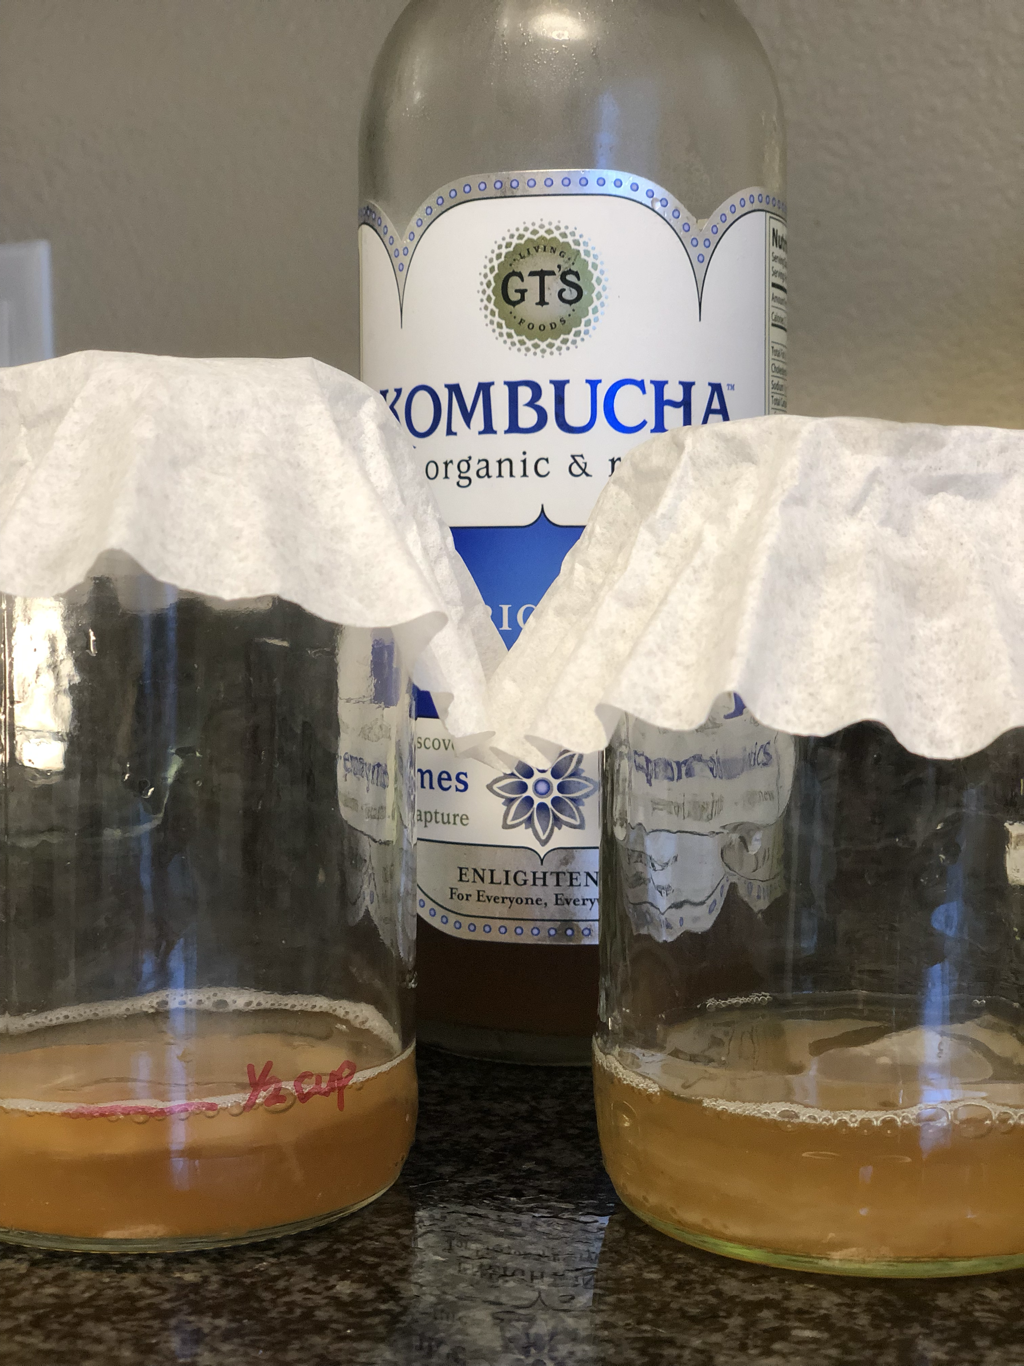
Although I have been baking my own bread for years, by hand or by bread machine, but when I was introduced to a commercial-yeast-free bread, that’s when the learning curve began. I had hit-and-miss days. Through the months, here are the hard lessons I learned and strategies I adopted to get more consistent results. I observed patterns which helped me drew my own conclusions on why my sourdough failed to rise. I adopted techniques to troubleshoot my weak points. If you’ve been following me on facebook, you must have seen how I “made” my own SCOBY or symbiotic culture of bacteria and yeast from a commercial bottle of kombucha while on vacation.
After many experimentations, this is my simplest recipe for sourdough bread.
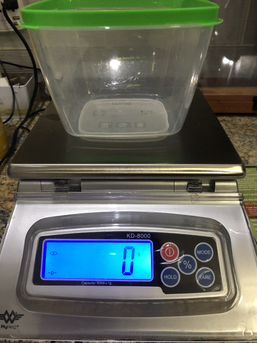
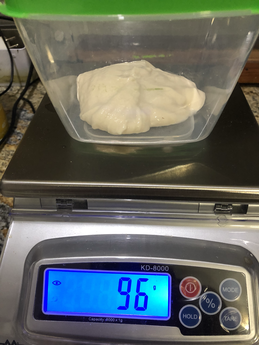
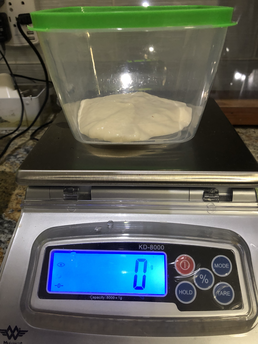
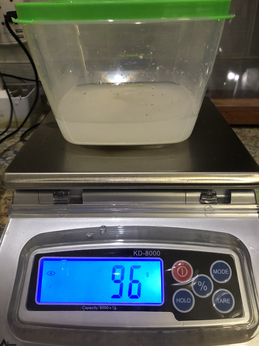
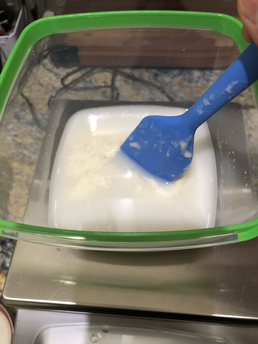
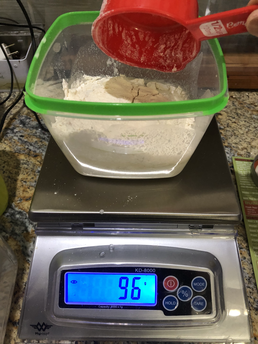
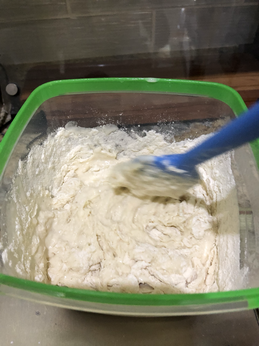
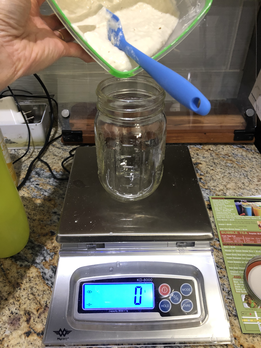
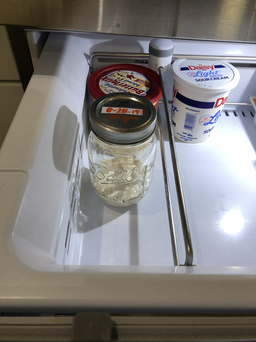
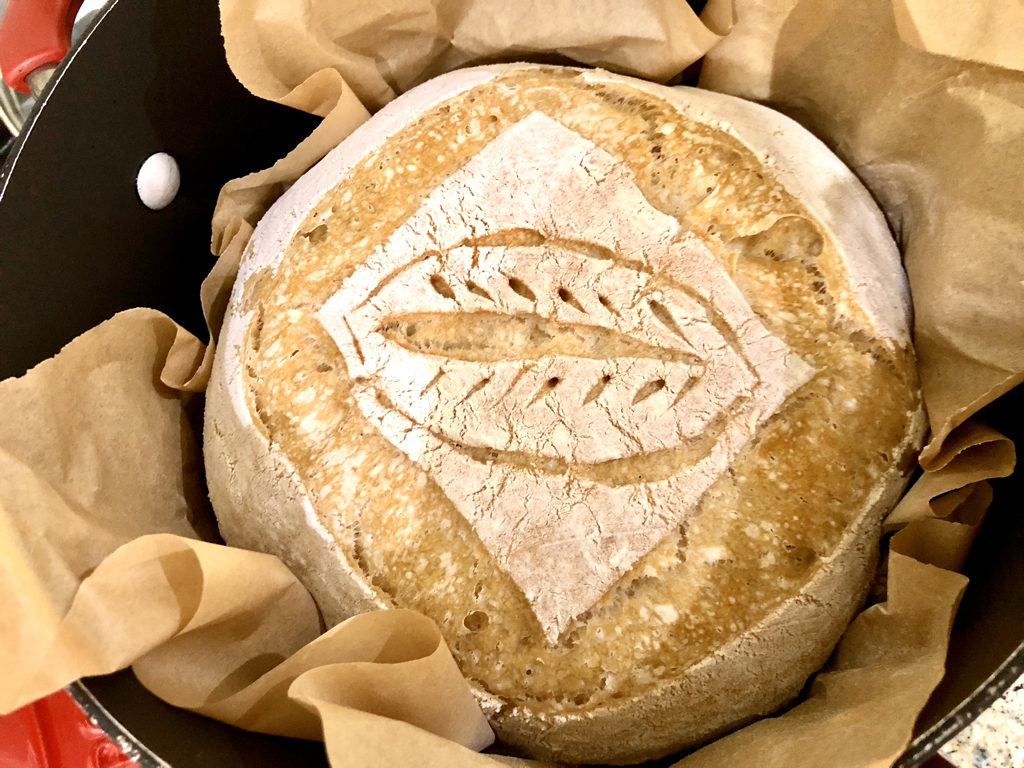
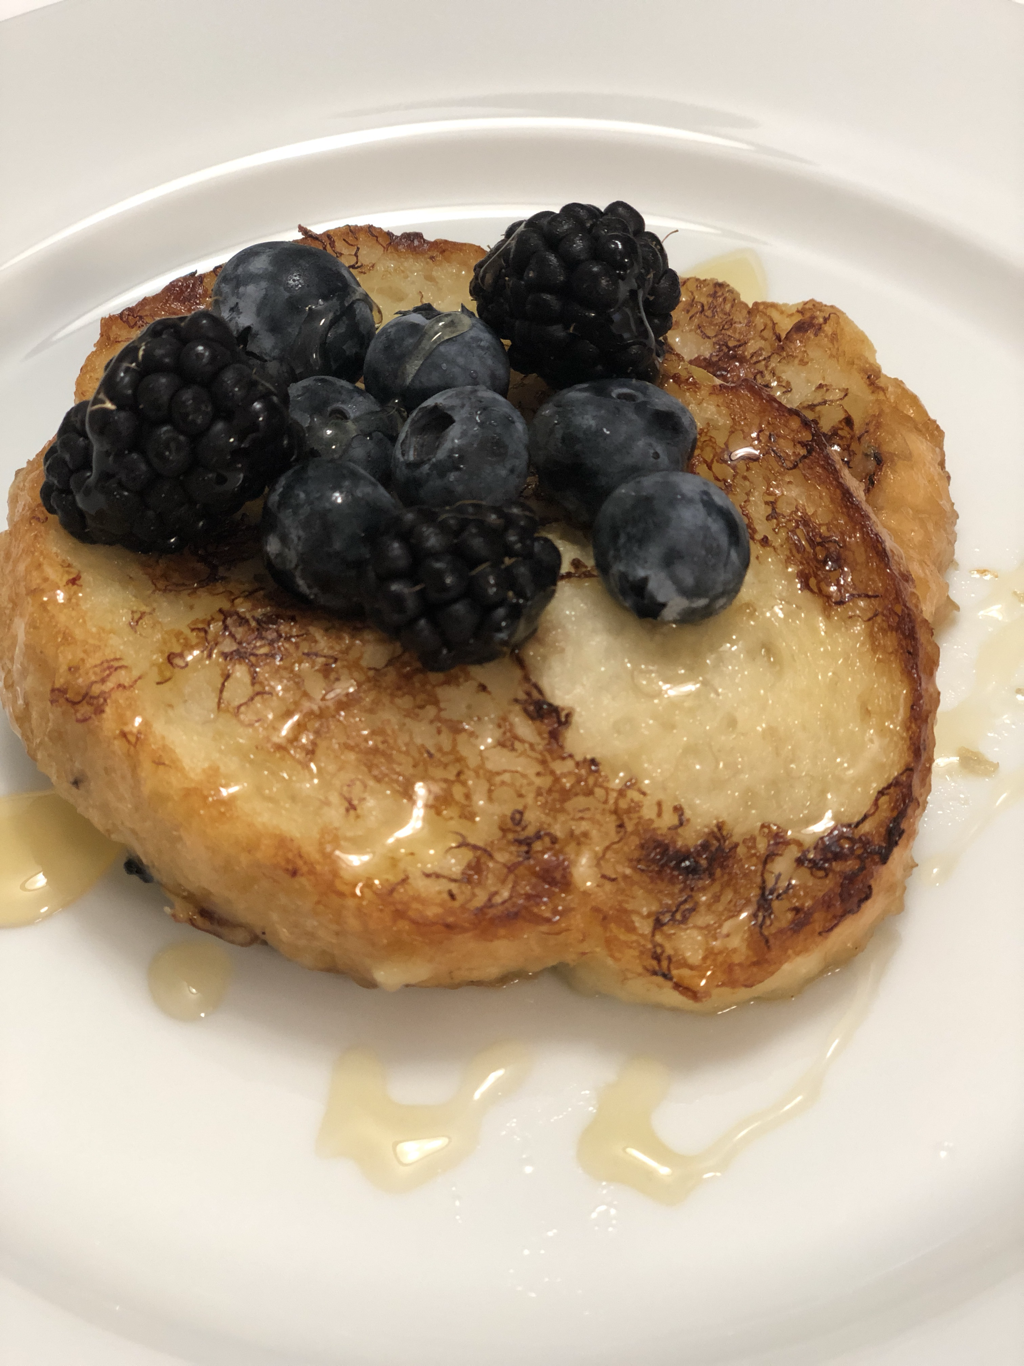
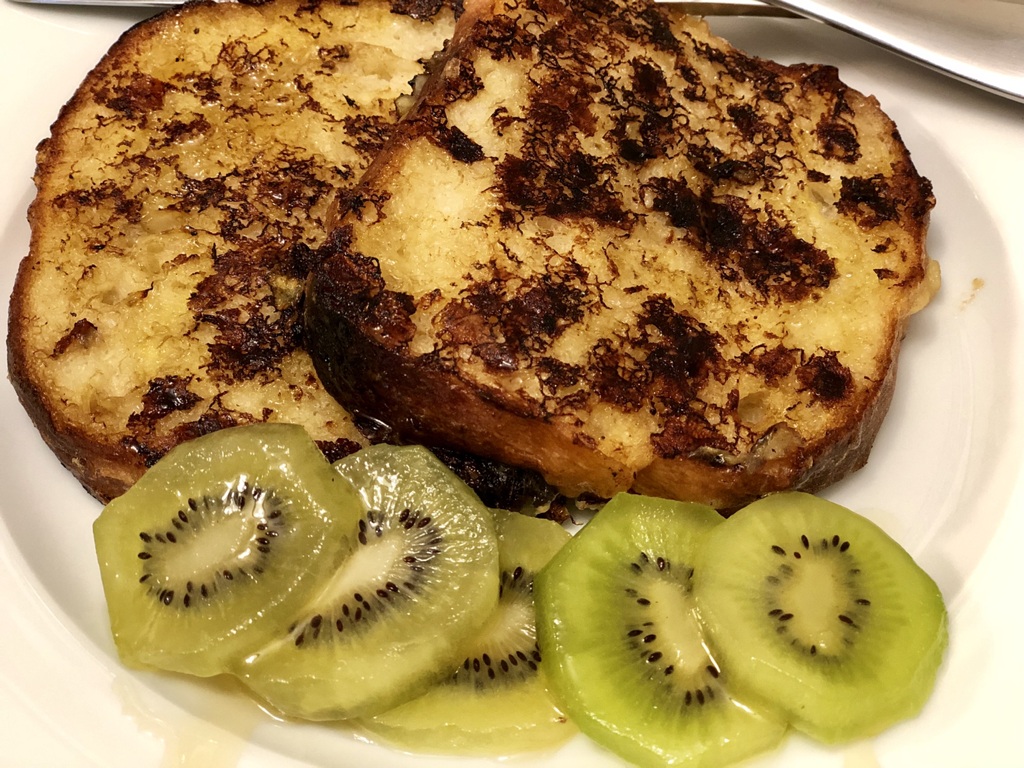
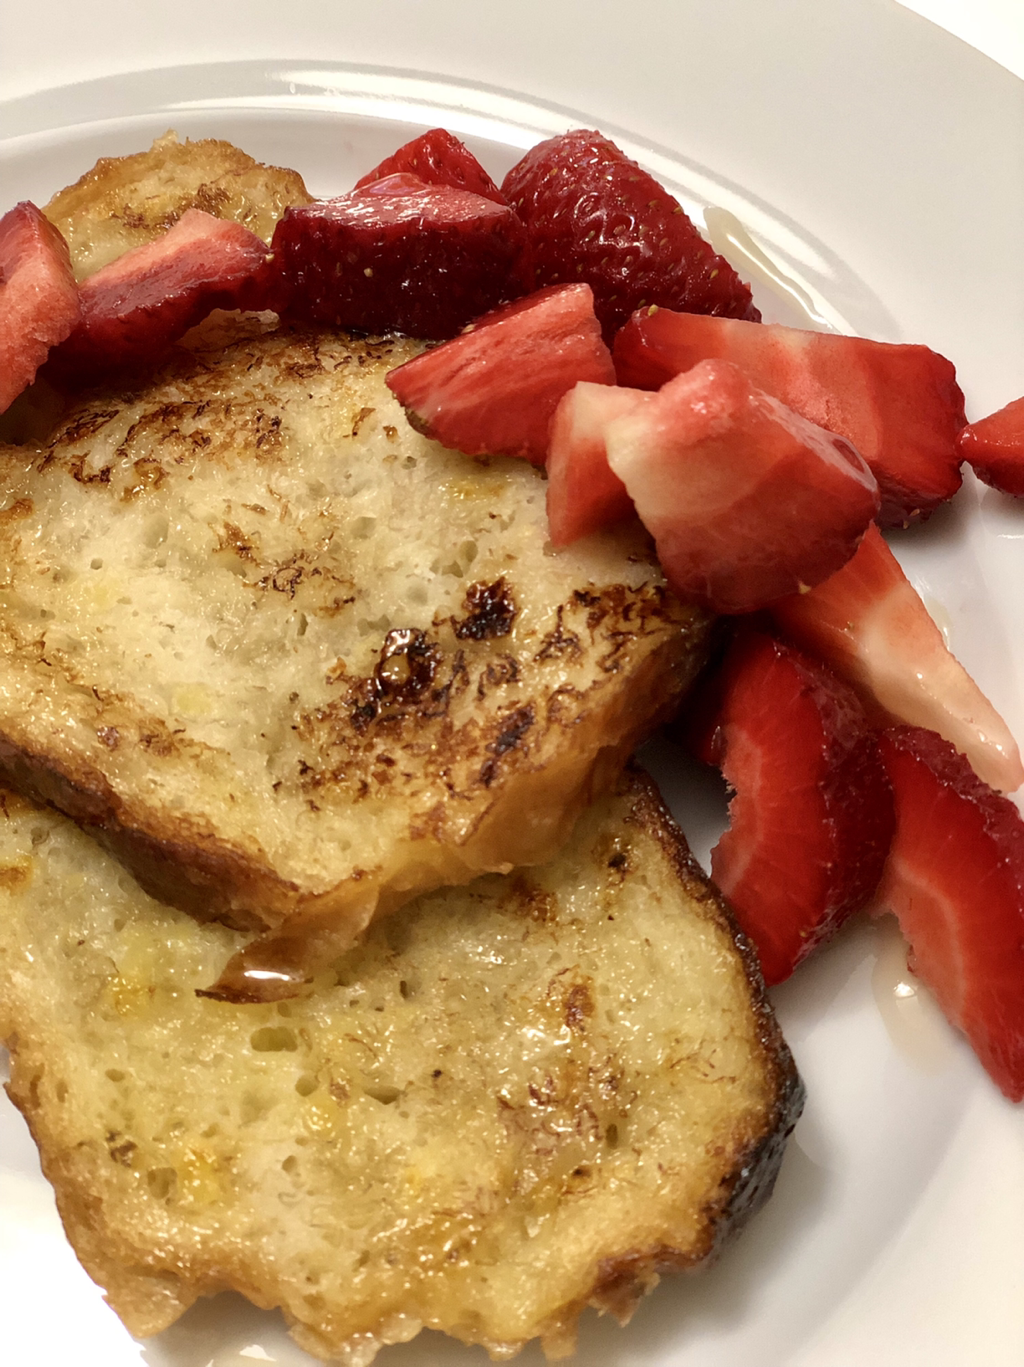
35% Sourdough starter/levain 62% filtered water 100% flour 2% salt How to convert this baker’s percentage to measurements so I don’t discard any starter? Read on. Preparing the levain: The evening before I bake, I take out my starter from the refrigerator. I have trained Baby Doughy to thrive on prolonged fasting. I only feed him whenever I bake, which can be as often as every three days or as infrequent as three weeks. He doesn’t care. Sometimes, I feed him with an equal ratio of 1:1:1 (starter:water:flour) if I want a small batch or 1:2:2 (starter:water:flour) for a bigger batch. For example: For the 1:1:1 I add 150 ml of warm filtered water (microwaved for 30 seconds) and another 150 gm Bob Red Mill’s all-purpose flour to my 150 gm stored starter = 450 gm I bottle 150 gm of starter and refrigerate for my next batch and use the 300 gm for my levain for the recipe. For the 1:2:2, I simply double the amount of water and flour, and refrigerate 150 gm for future use. That gives me 600 gm of levain for my recipe. It takes 12-18 hours for this levain to ripen. I draw a line in my container with an erasable marker and put a time stamp. Once the volume doubles, I do the float test. How to do the Float Test: Scoop a small amount of bubbly starter and drop in a glass of water. It if floats, then you’re ready to prepare your dough for baking. Converting the baker’s percentage: I transfer the levain in my mixing bowl (zeroed to weigh my final levain amount). Sometimes the original 450 gm may only yield less. So weighing is important. To get a 35% levain in the recipe, I divide the amount of levain with 0.35 and this gives me the flour amount. Say, I still got 450 gm of bubbly levain, 450 gm/0.35 = 1,285 gm all-purpose flour From the flour amount, I can compute for water and salt. 1,285 gm x 0.62 = 797 ml water (this gives me 62% hydration) 1,285 gm x 0.02 = 26 gm salt Final recipe is as follows. I strongly recommend weighing your ingredients. Cups tend to vary (so the cup measurement below may not yield the desires result). Volume of flour depends on type. You get more consistency with your results when you weigh your ingredients. 450 gm levain (about 2 cups) 1,285 gm flour (about 5 1/2 cups) 797 ml water (about 3 1/3 cups) 26 gm salt (5 1/4 teaspoon) I mix everything and store in the refrigerator for 12-24 hours, allowing the bacteria and yeast to naturally “knead” and ferment the dough. Doing the Window Pane Test: To check if my dough has developed a good gluten strand, I stretch and fold 4-8 times. If the dough holds firm and doesn’t tear easily, then I move on to forming my dough into loaves or boules and proof them. Proofing the Dough: I sometimes use proofing baskets or loaf pans for the final rise. I wait for 30 min to 2 hours (again depending on whether I’m rushing or not). I pre-heat the oven to 450F when I sense the dough is almost there. Doing the Poke or Press Test: I like to bake my doughs on the rise, meaning, it is not overproofed. The dent from my poke/press test still springs back and does not remain dented. Just 5-10 minutes before I bake the bread, I also pre-heat the Dutch oven or baking pans. If I used proofing baskets, I tilt the dough into a parchment-lined container for scoring. If I used tin loaf pans, I usually pre-line these with parchment papers before proofing for ease of transfer to pre-heated baking containers. I score my dough just before I transfer them to the pre-heated Dutch ovens then cover it before putting inside the oven. This ensures the bread steams from within and rises. If I do an open pan baking, I put another pan at the bottom with boiling water for external steam. I lower the baking temperature to 425 and bake for 20 minutes. After 20 minutes, I take out the cover (for Dutch ovens) or take out the pan of boiling water from the bottom (for open baking), and bake for an additional 15 minutes. This would give me about 2-3 loaves of baked bread (about 800 gm each). I freeze some, sell, or give away as gifts. If I want to bake just one loaf, I only use 50 or 75 gm levain. Using the formula above, it’s easy to come up with the flour and water measurement. Let’s face it. Sourdough bread tends to harden faster than the loaves of bread on the grocery shelves. That’s because it has the least amount of ingredients and the only preservative is salt. I know some would put it in a ziplock and this would prolong the soft texture. But what if it gets rock hard? Should you throw it away? There are many ways you could make that sourdough edible for more than a week. I used to cut it thinly, spray with olive oil, sprinkle with Italian herbs and salt, then toast in the oven. I have sourdough crisps that I store in airtight containers and enjoy like chips. Sometimes, I’d make croutons. But how do you make the sourdough bread soft again if you just want to enjoy a nice bread for breakfast? One strategy is to make french toast. Soak that hard slice of bread in a mixture of egg, almond milk, salt, and honey (you could add a sprinkle of cinnamon), the “fry” with olive oil for a healthier version. The photo above and below is not a french toast though. That’s a “banana bread.” What I did was mash a banana and mix with almond milk then soaked the slice of sourdough in this mixture. It tasted like pudding and was truly soft and yummy. This has become a hit with my teens. Drizzled with honey, it goes well with fruits on the side. This morning, I thought I would try another technique.
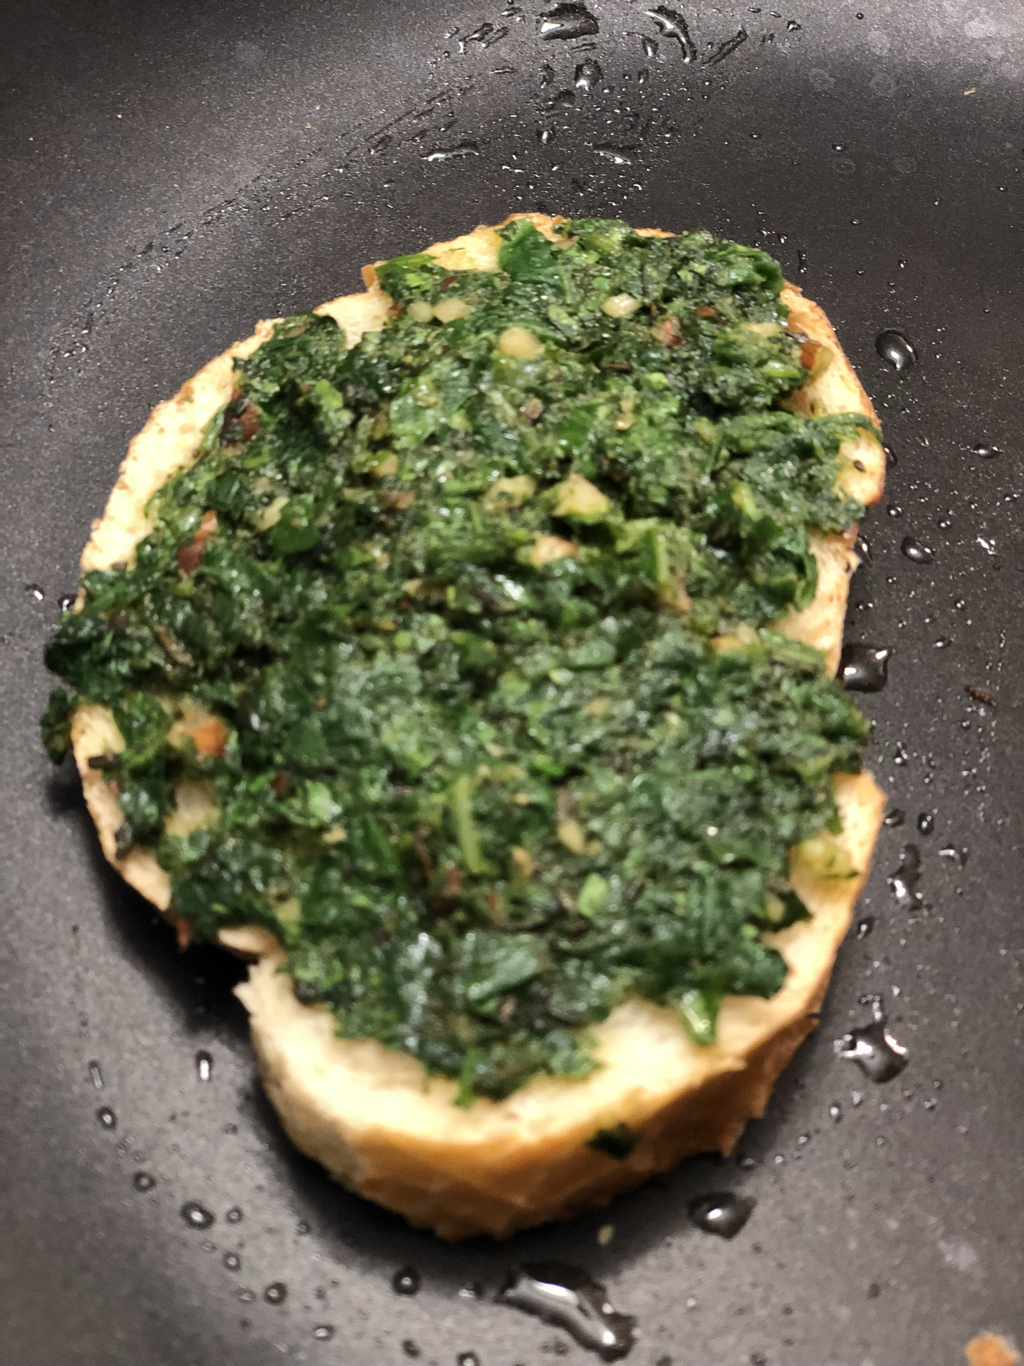
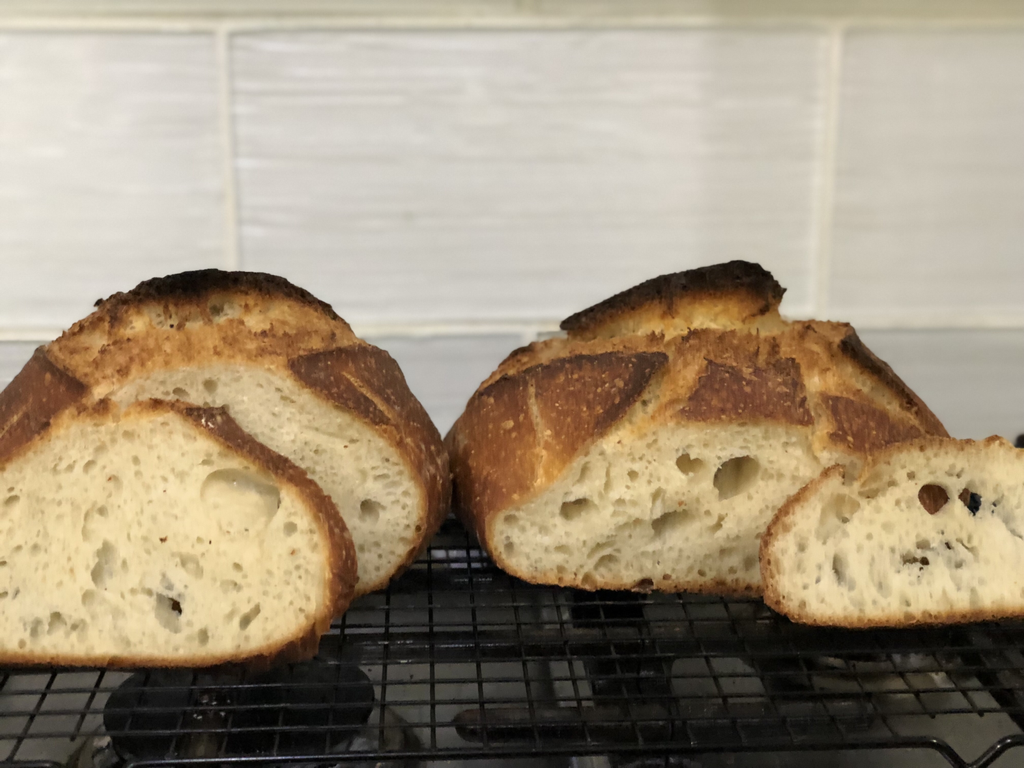
This time, I made a different kind of pesto using chopped cilantro, arugula, and spinach, mixed in olive oil, minced garlic, and chopped almonds. I topped a slice of hard sourdough with this pesto sauce and heated in a frying pan drizzled with olive oil and a sprinkling of water. I covered the frying sourdough and voila, came out this soft-crumbed crostini with crispy underside. See photo below. You should try it. What about you? How do you extend the life of your sourdough bread? Those huge holes are epic in the craft of sourdough bread baking. It's the highest form of accomplishment you can achieve, along with the soft crumb and crispy crust.
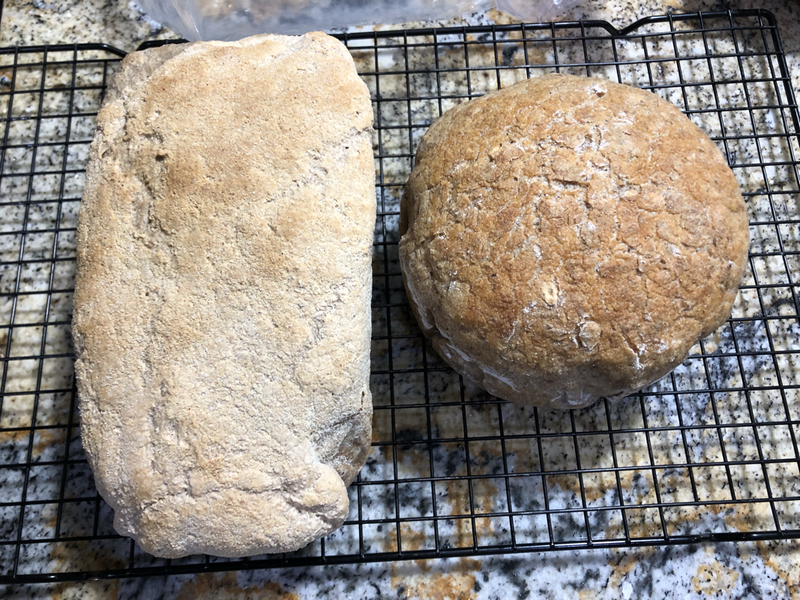
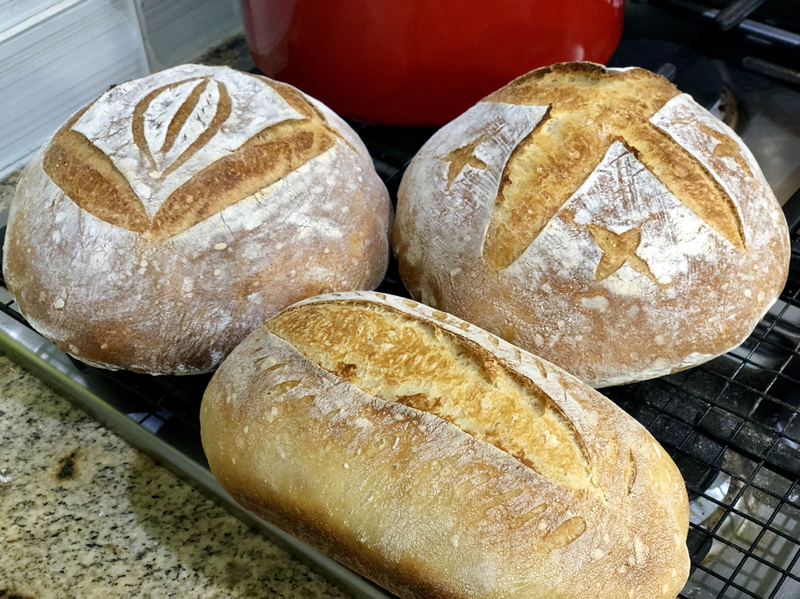
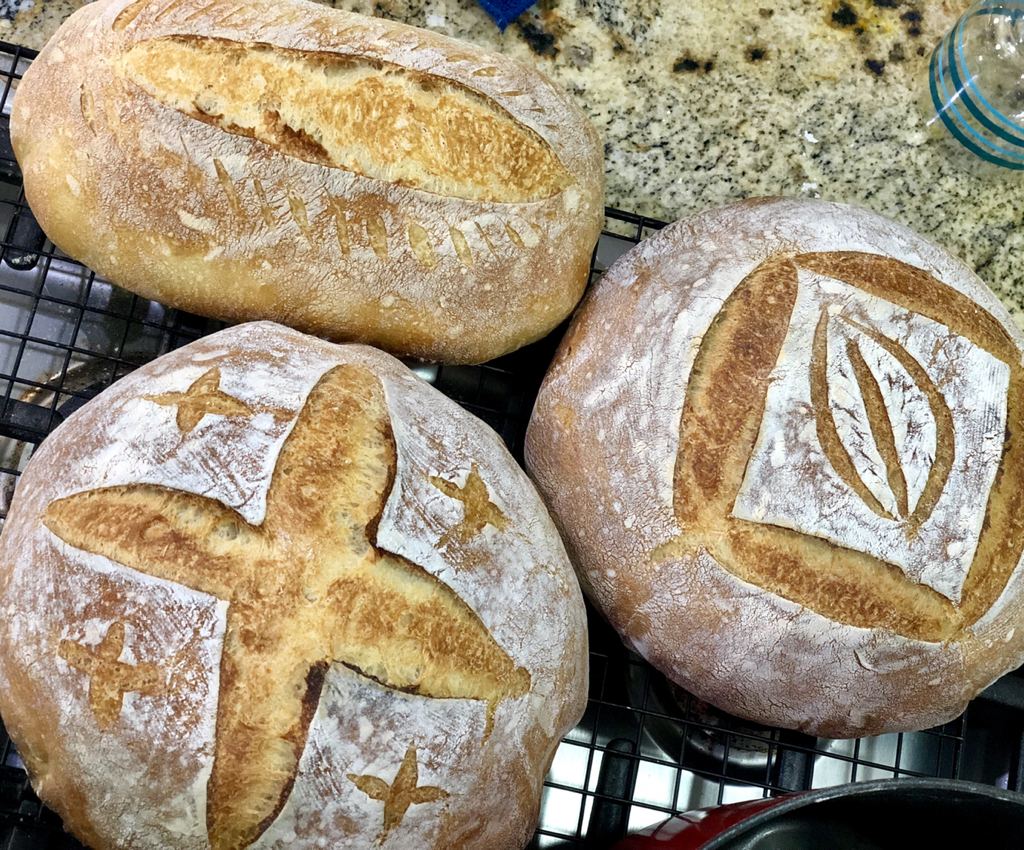
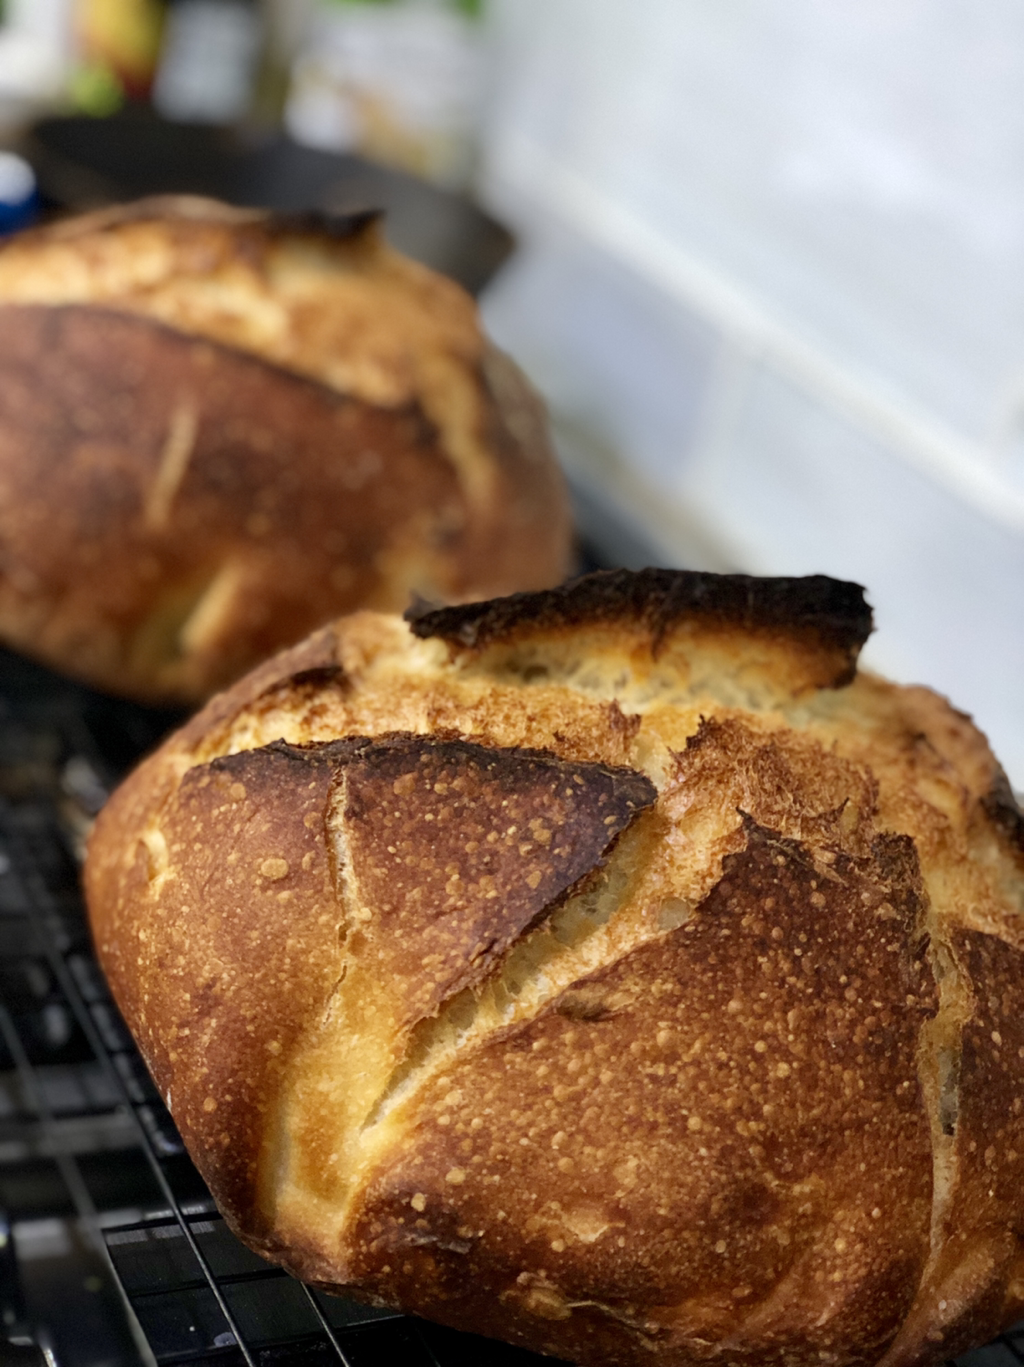
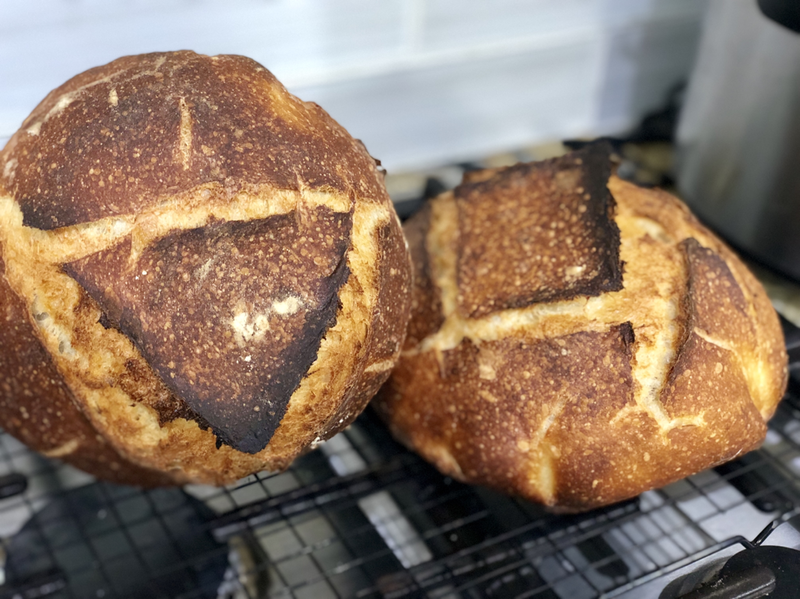
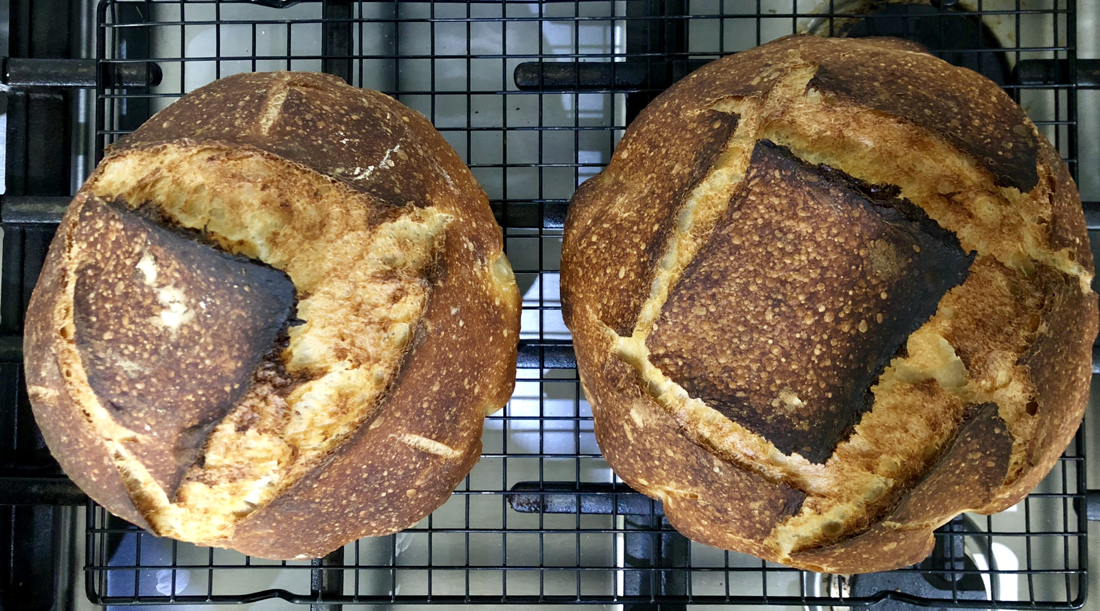
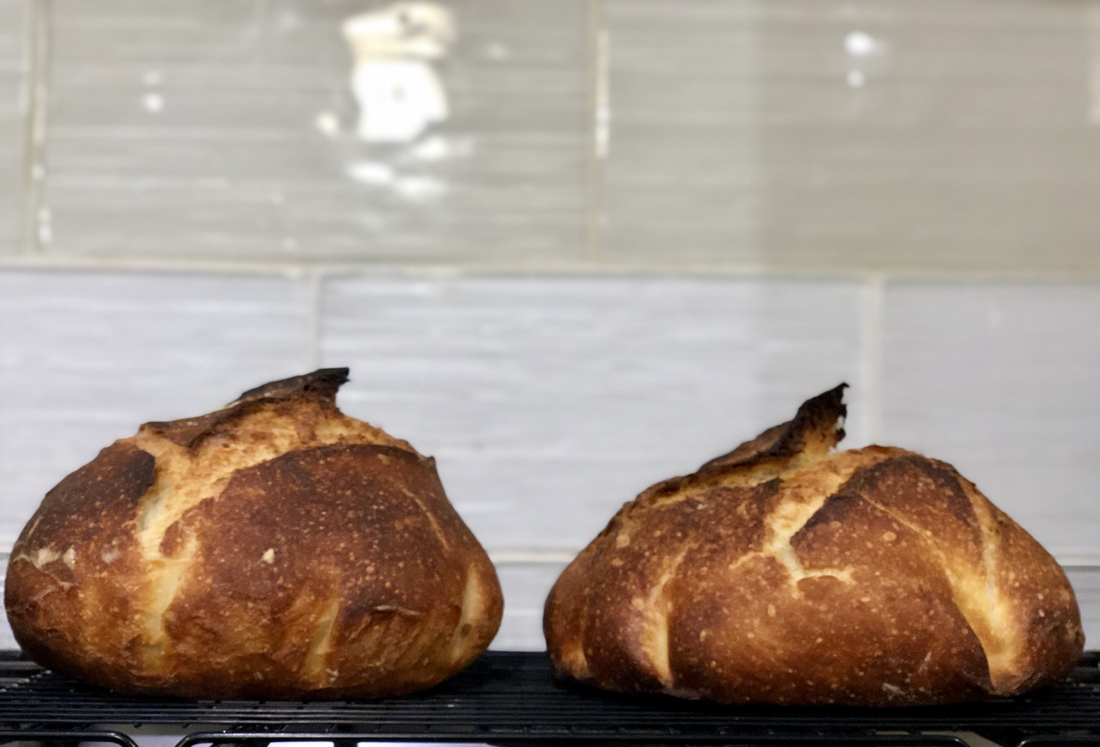
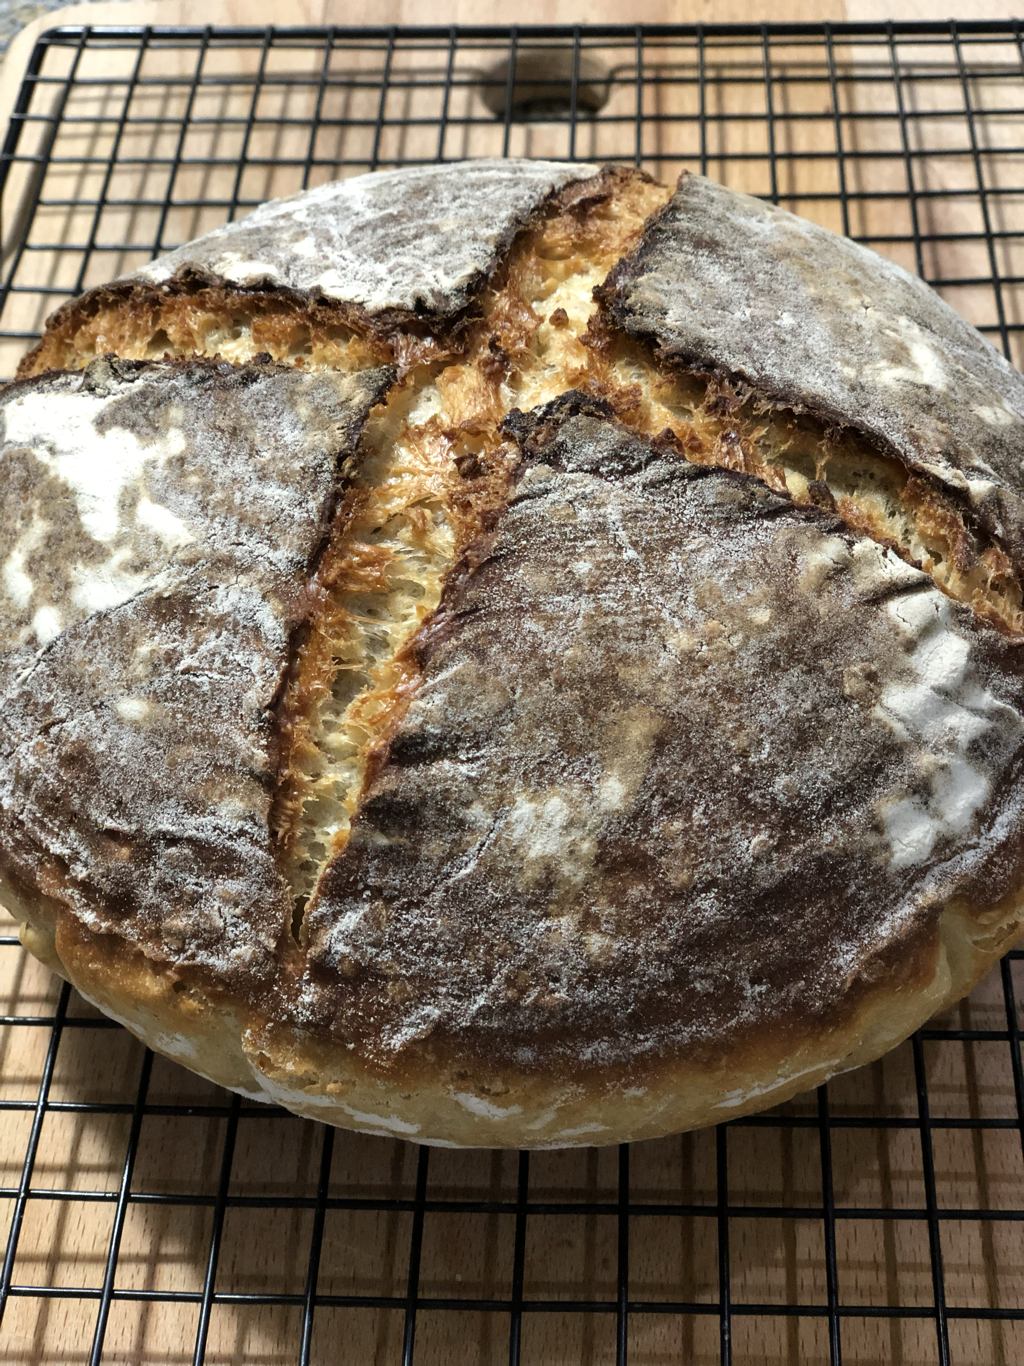
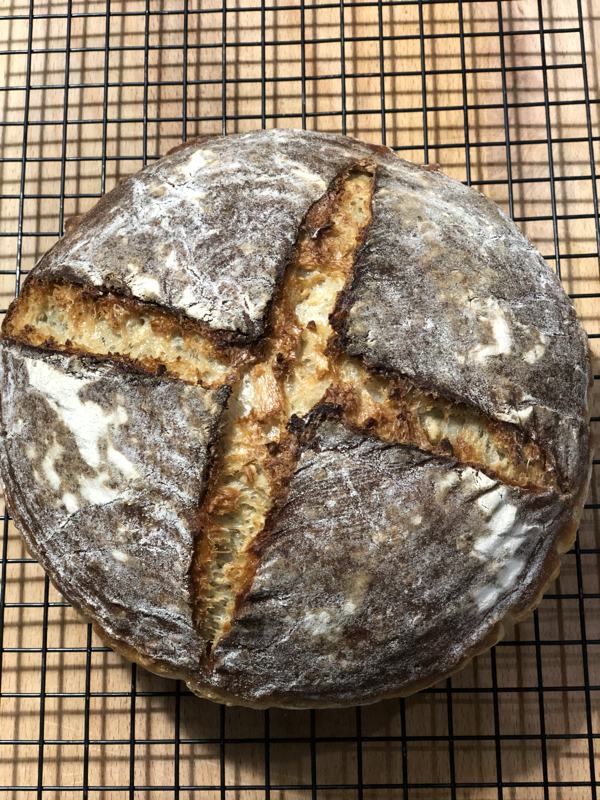
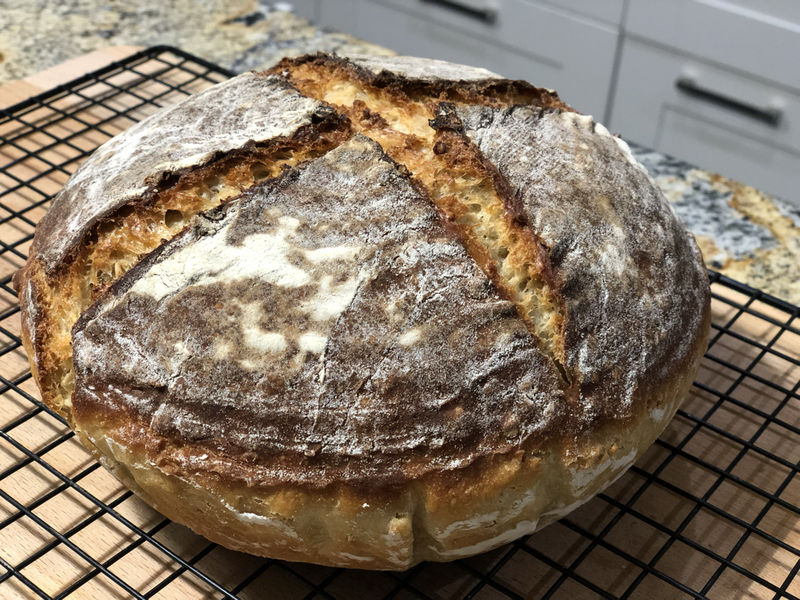
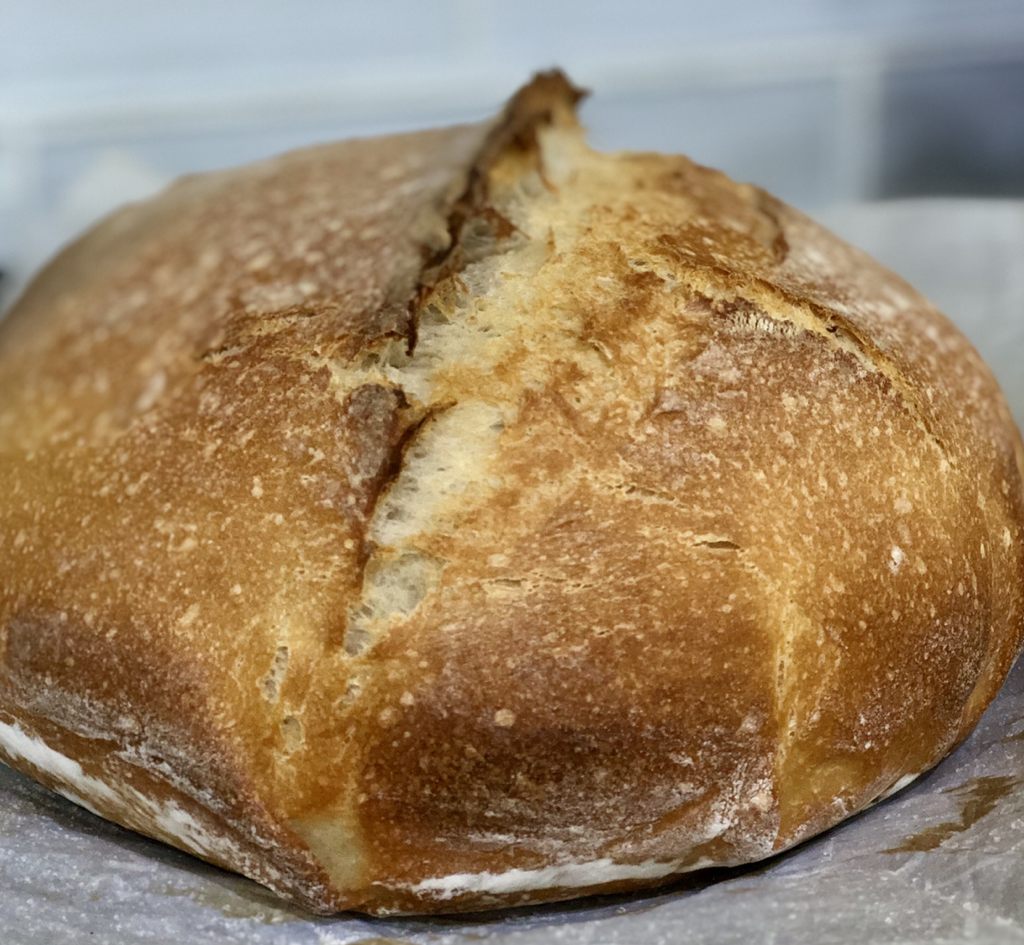
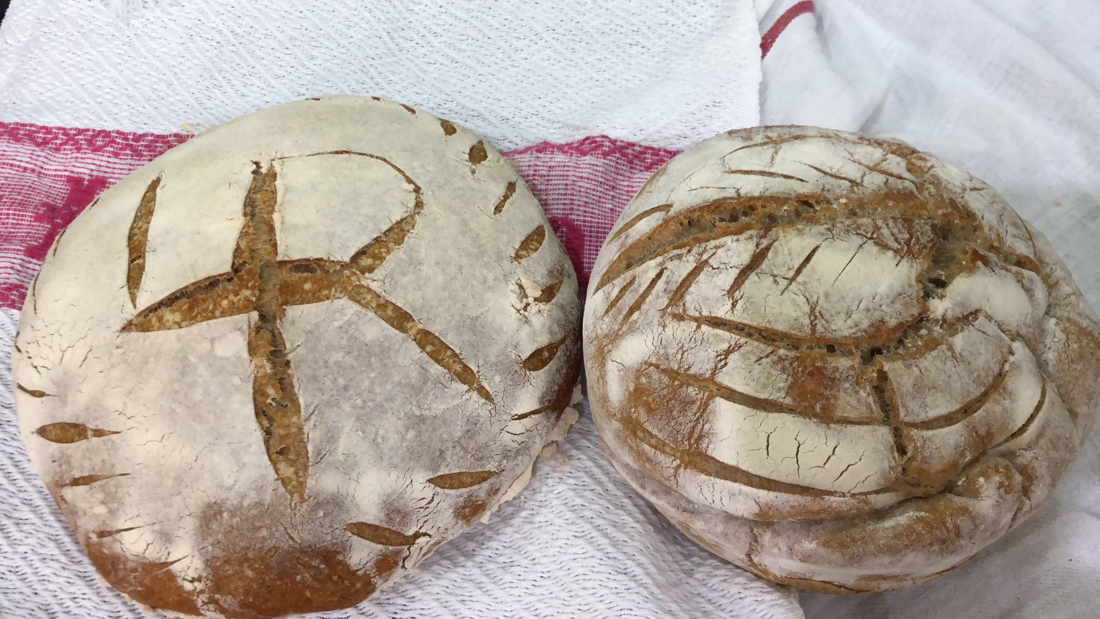
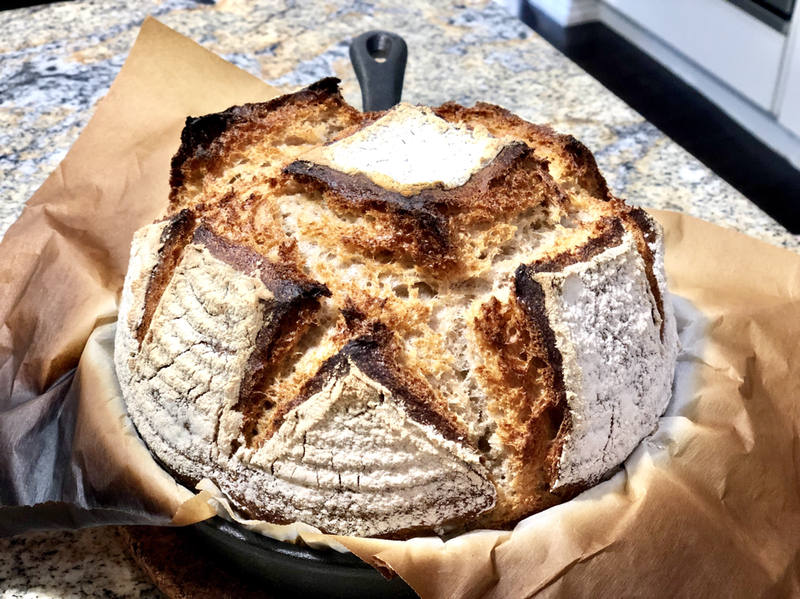
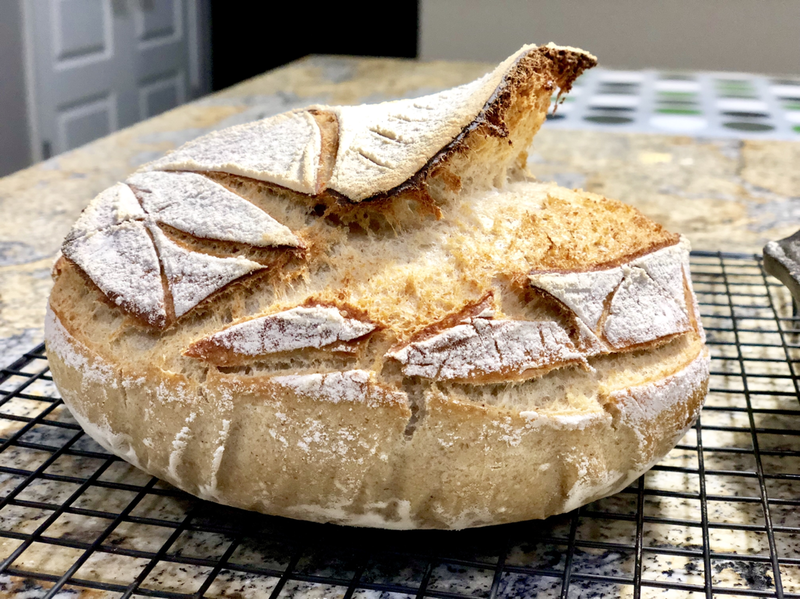
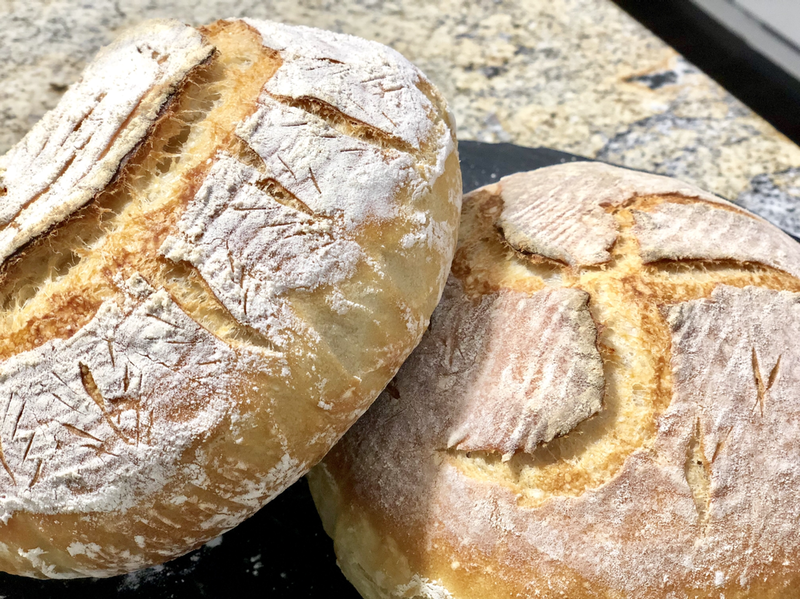
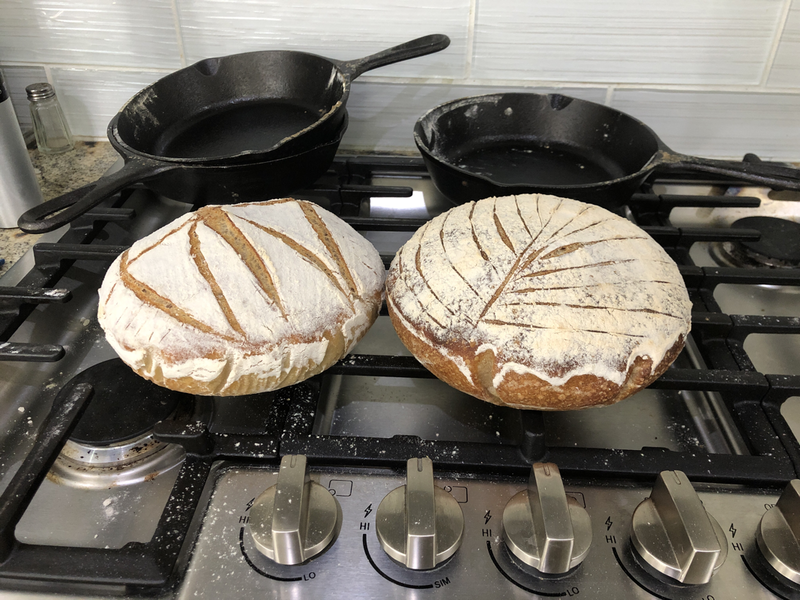
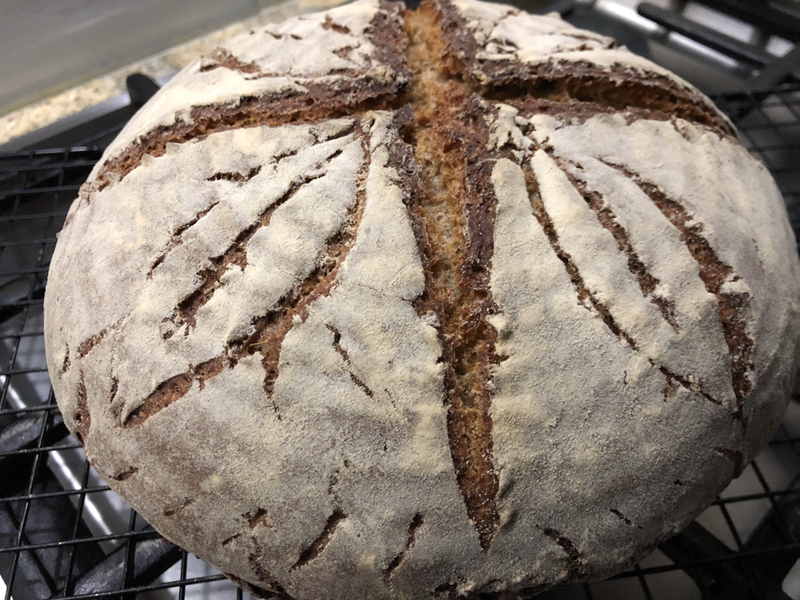
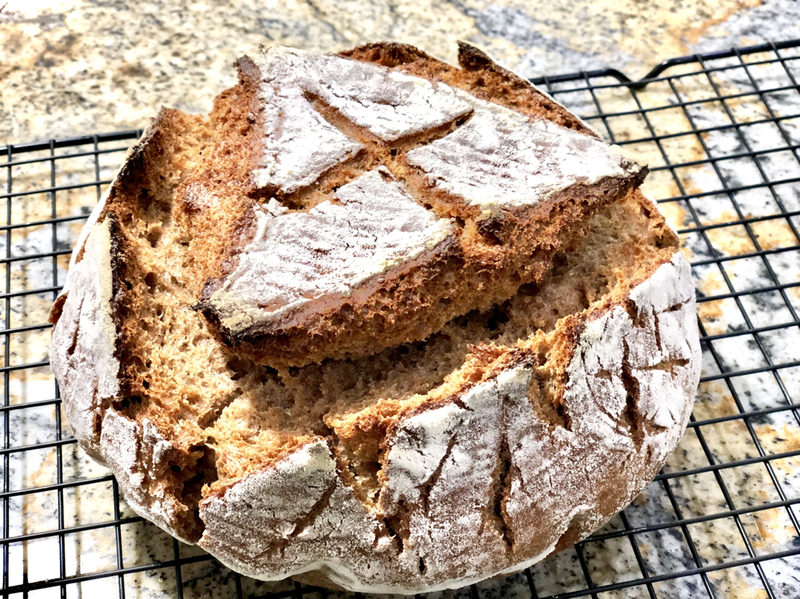
So what did I do right this time after months of experimentation? Pre-heating my baking pan (Dutch oven) with my oven at 500F! I also found more evidence of how a baking pan can affect the loaves: The bread baked using a Dutch oven (Right) spread out and was wider in diameter and lower in height because the size of the DO was wide (9”). The cover provided the steam. The bread baked using a skillet pan on the left (8”) rose by almost an inch more than the DO, but of course appeared smaller. Both pans were preheated with the oven. Using parchment paper made it easy to put the dough into both hot containers. 60% hydration. I also did something strange—I mixed all the ingredients from the start (no autolyse) and stored it directly into the refrigerator (hoping it’ll “knead” itself. But the next morning, the dough didn’t have the window pane sturdiness I had hoped for so I did one S&F and bench rest. After 2 hours, I formed them and rested again for an hour. Did final proof for 3 hours in a basket, transferred to preheated pan and baked with steam for 20 min (again a new thing for me coz I always do it for 30 min then 10-15 min without steam). This one I baked further without steam for 25 more minutes. But there was a difference in the crust. The DO-baked bread was crisper. And look at those crumbs. I’ve never had that much open crumb in my bread. Looks like I made it! I liked this best. This is the best burnt-looking loaves I had so far. #Tartine copycatwannabe Indeed persistence pays! I put the least amount of work in this bread. No knead. No stretch & fold (S&F). Just the ingredient of TIME, allowing the natural yeasts and bacteria of the starter, which I got from Anne Beckham Gowens, to work. * Autolyze (flour, water, levain) for 3 hours. * Mixed the rest of my ingredients (oats, extra virgin olive oil, maple syrup, salt) and put on cold retard (refrigeration) for 21 hours * Formed to a boulle and proofed for 6hours in a proofing basket. * Baked at 450F x 30 min with steam then 10 min at 400F without steam. Sourdough lingo from this blog for the newbies:
Sourdough starter - this is your fermented flour and water which has all the good bacteria and yeast from the environment. You can make one, obtain from a friend or bakery, or ask me. I can mail one to you and just pay for postage. Levain - This is your sourdough starter that you’ve fed and ready to add as an ingredient to your recipe. This substitutes for the commercial yeast you normally put in your bread. It has the natural yeasts and good bacteria from the environment. Autolyze - This happens when you mix your ingredients of flour, water, and levain and leave it for at least 30 minutes to a couple of hours to allow the levain to work on the dough. Instead of you kneading your bread to form a good matrix in your dough, you allow the levain to do the work. You don’t add salt at this point because it will slow down the process. Cold Retard - This is when you put your dough, with all your additional ingredients of salt, sweetener (I prefer natural ones like honey and maple syrup), etc. in the refrigerator to slow down the process of fermentation if you don’t want to bake the bread immediately. I have done 6 days of cold retard and the bread was good! S&F - the process of stretching and folding the dough instead of the usual kneading. This is done by pulling the dough from one end and folding it to itself. You repeat the process from all four sides. It’s less messy because you use the same container to do the work. Steam - put a pan at the bottom of the oven and pour water to steam the dough while baking. Spray water inside the oven when you put your bread in to bake for added steam. You can also use a Dutch oven with cover and this steams the bread from within. I found the water on the pan more reliable in producing oven spring. Oven spring - when the dough rises further to its full size while baking in the oven. Factors that can make a good spring are: ripeness of your levain (make sure it floats on the water before using it for your dough), added steam in your oven, hydration of the dough (wet dough on a flat container will produce a flat bread), proofing (overproofing dampen your spring). Breadmaking used to be a no-fuss task for me. I dump all my ingredients in the bread machine in the evening, set the delay timer on, and wake up to the smell of freshly-baked bread.
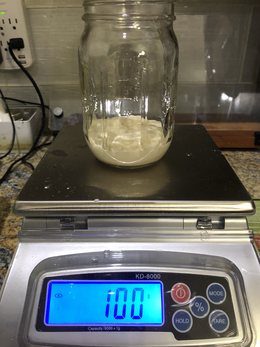
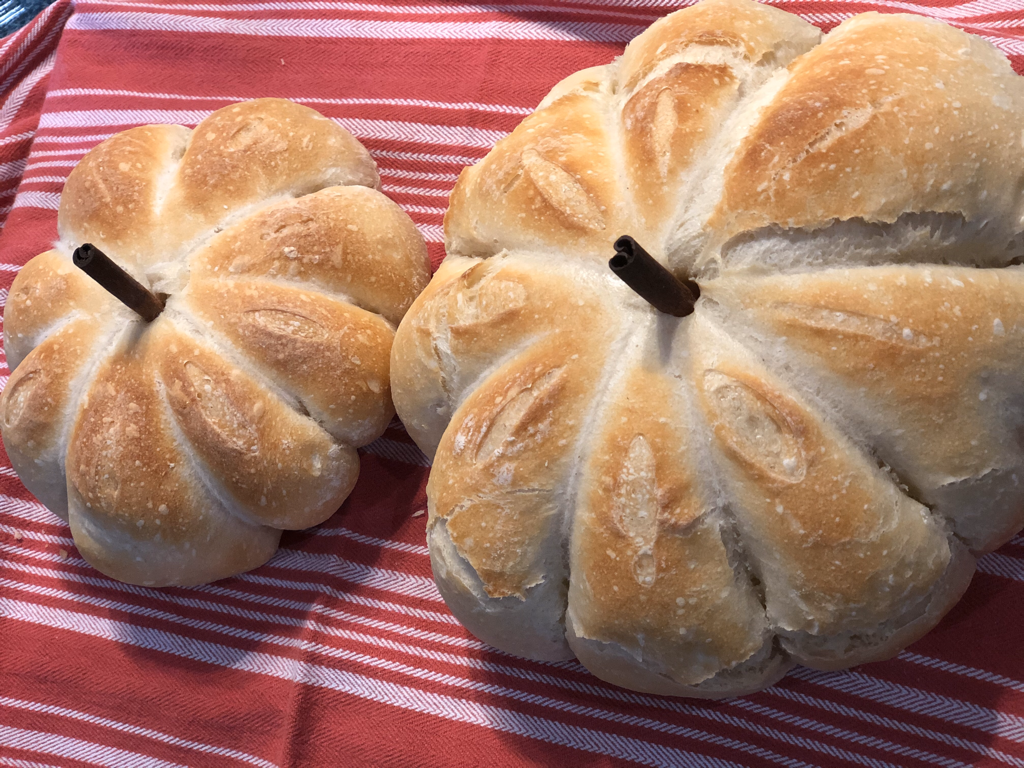
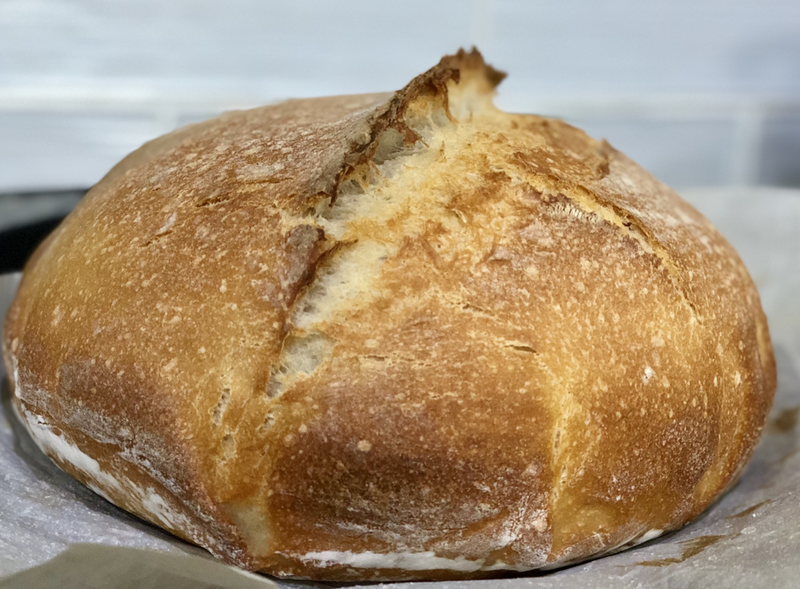
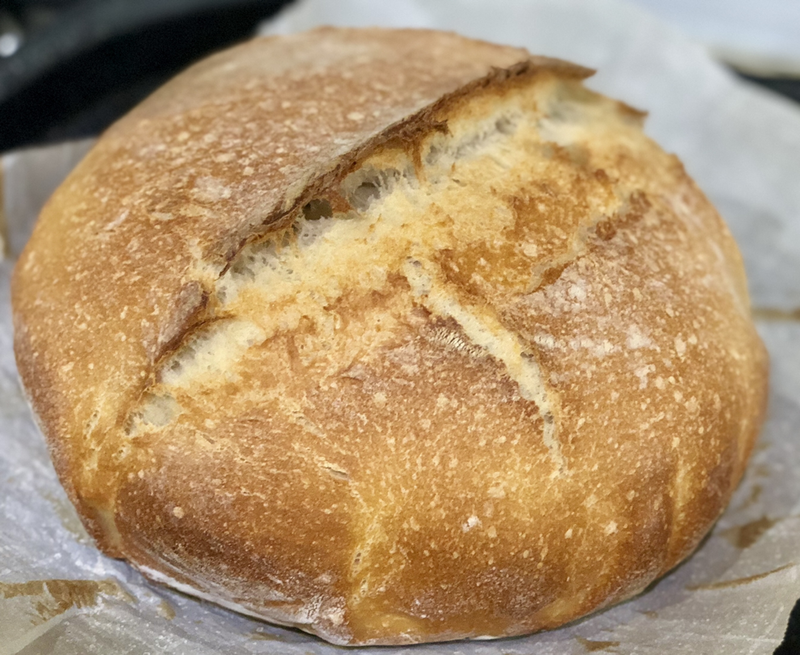
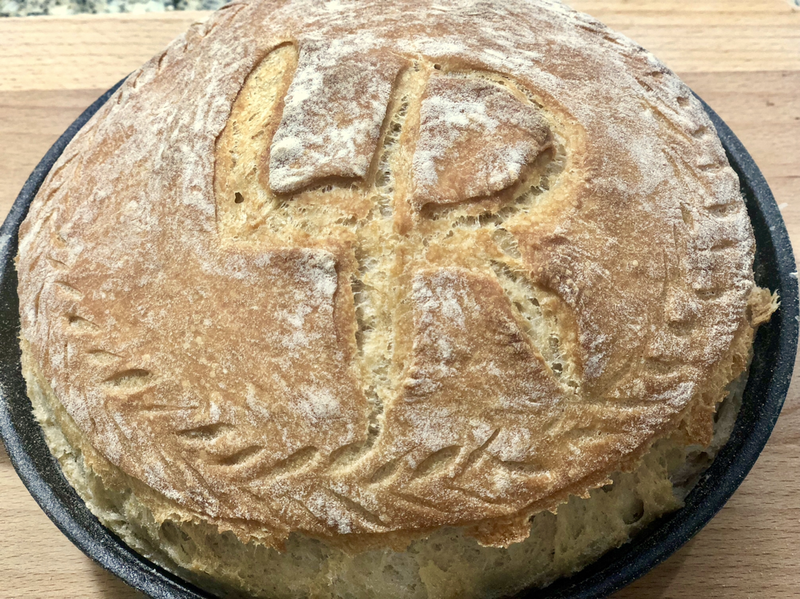
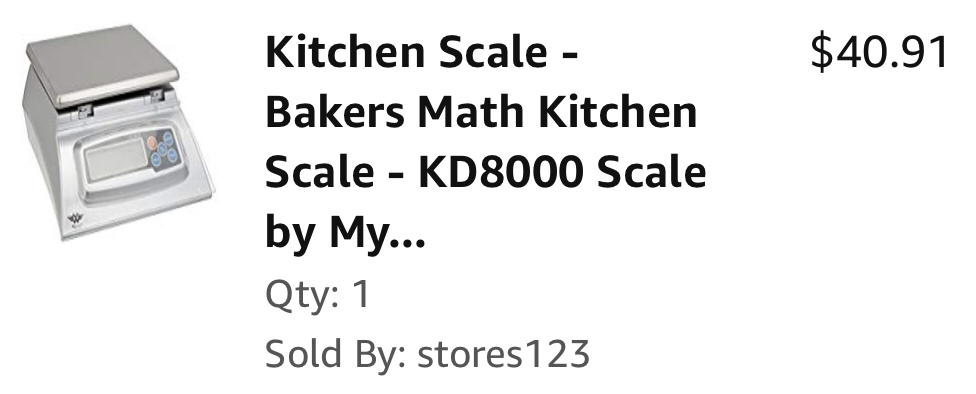
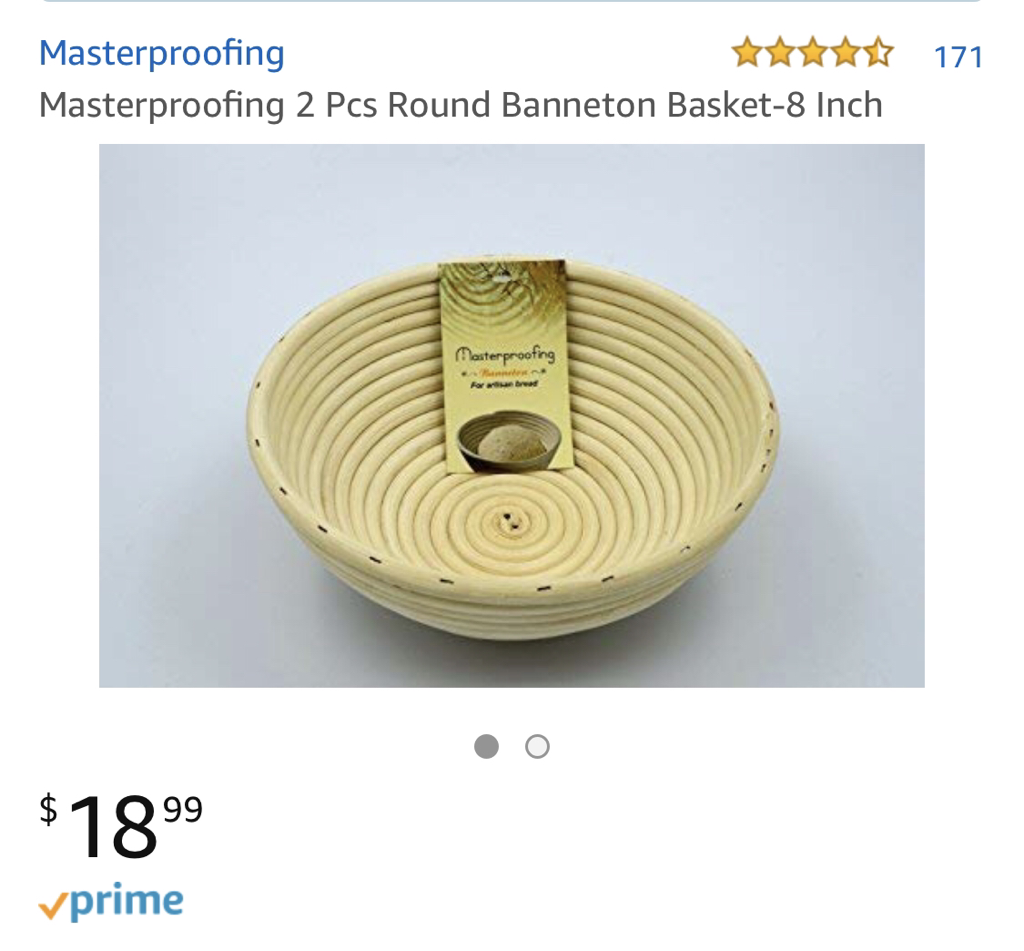
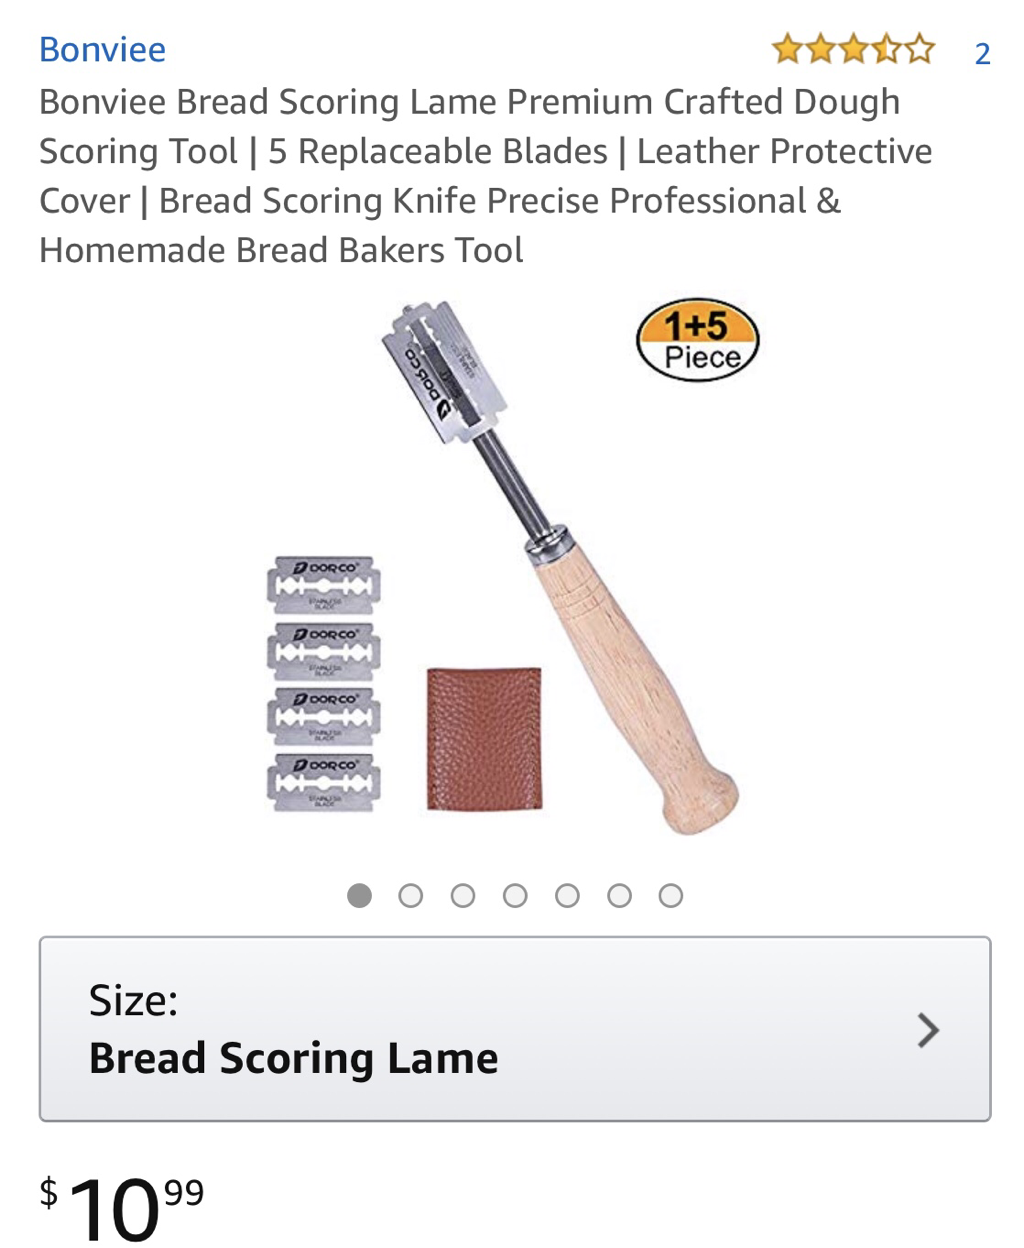
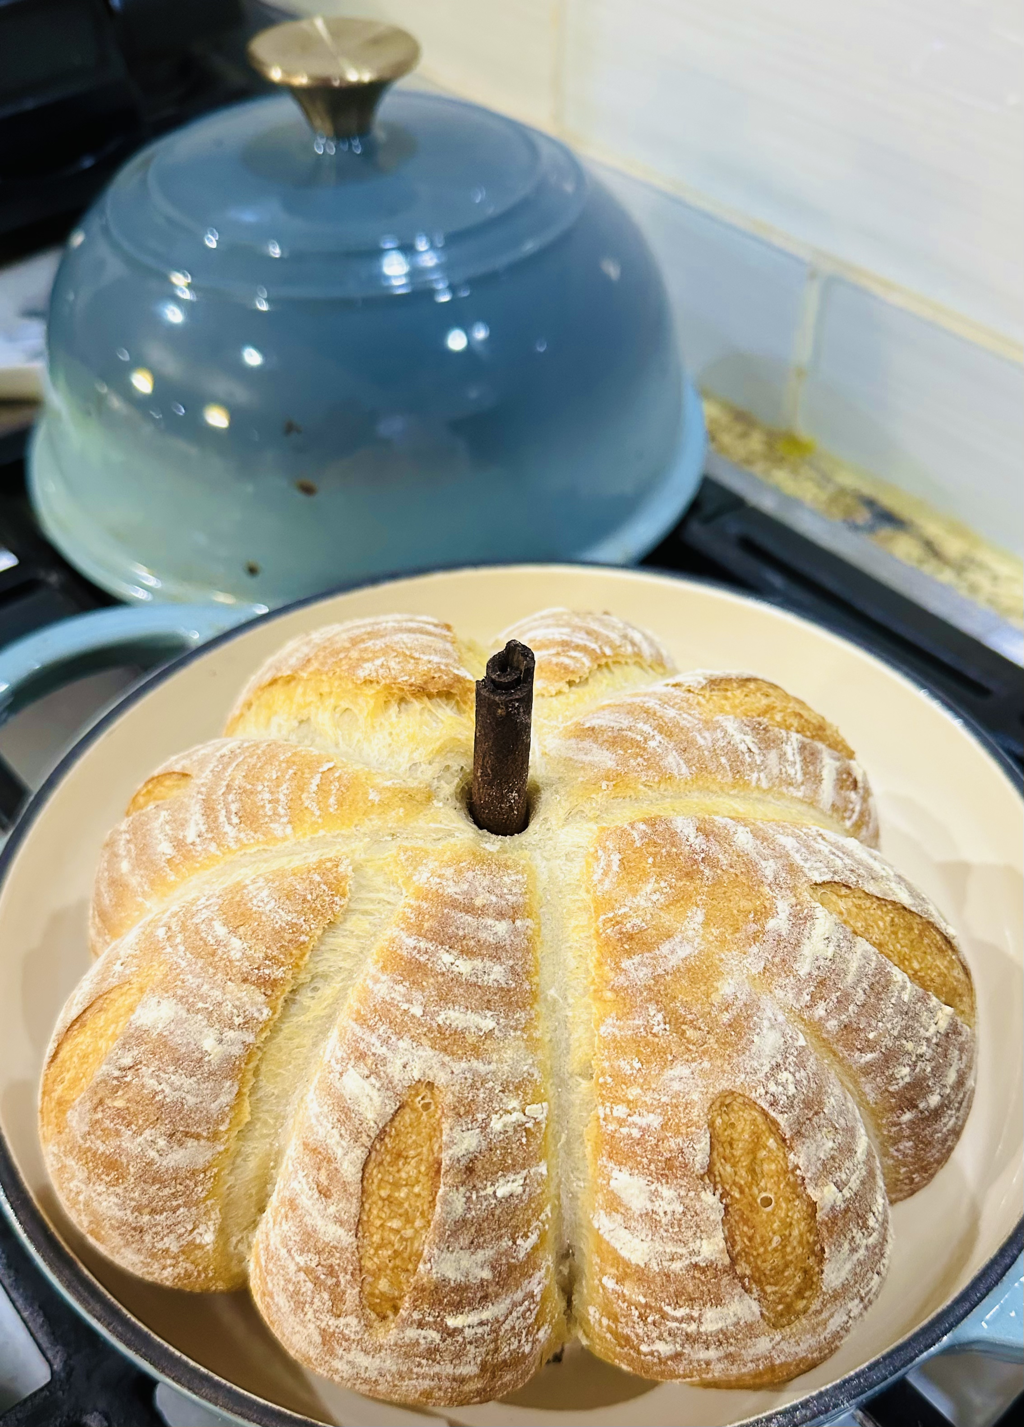
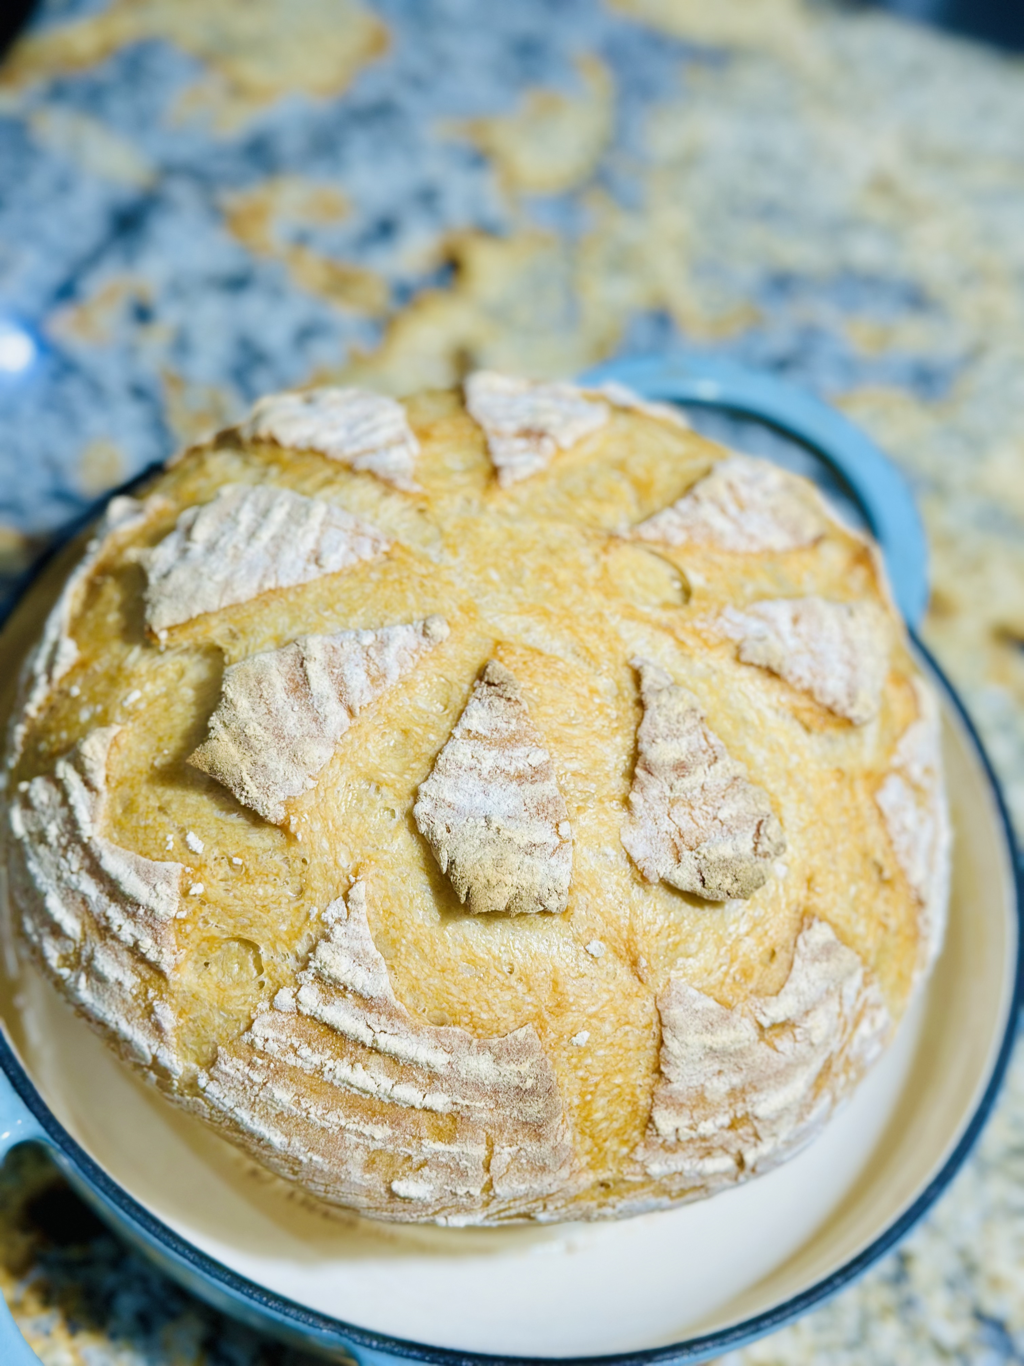
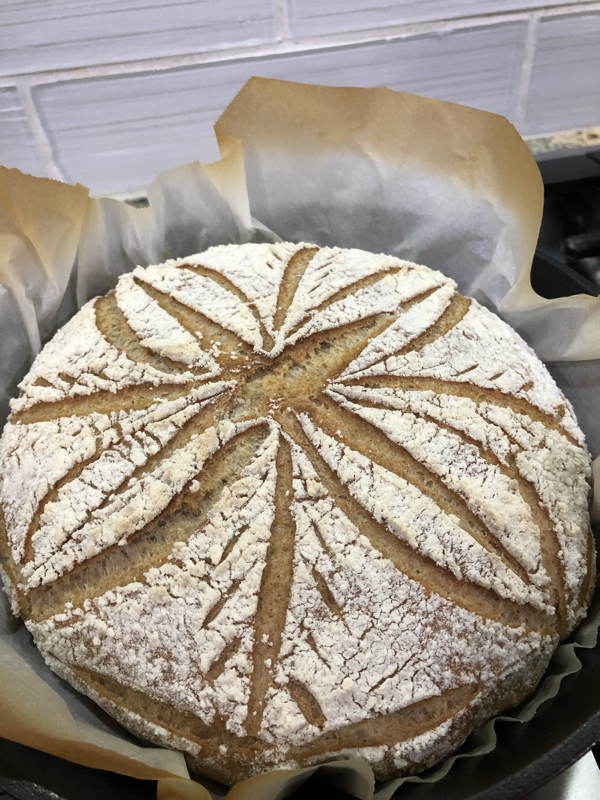
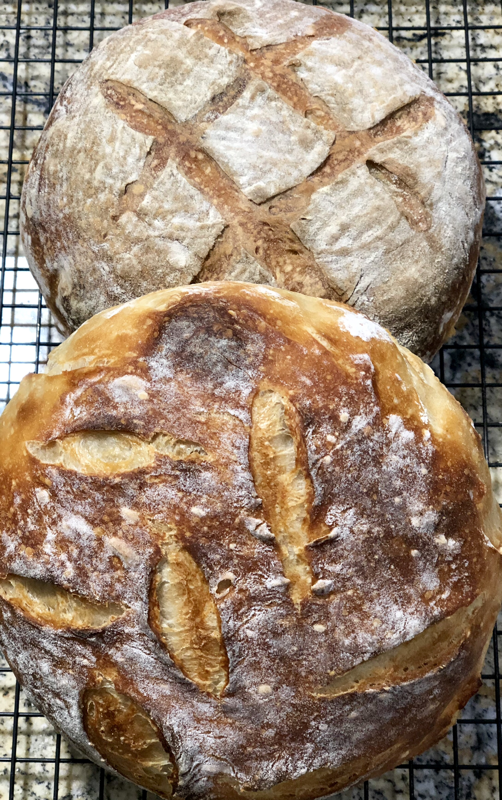
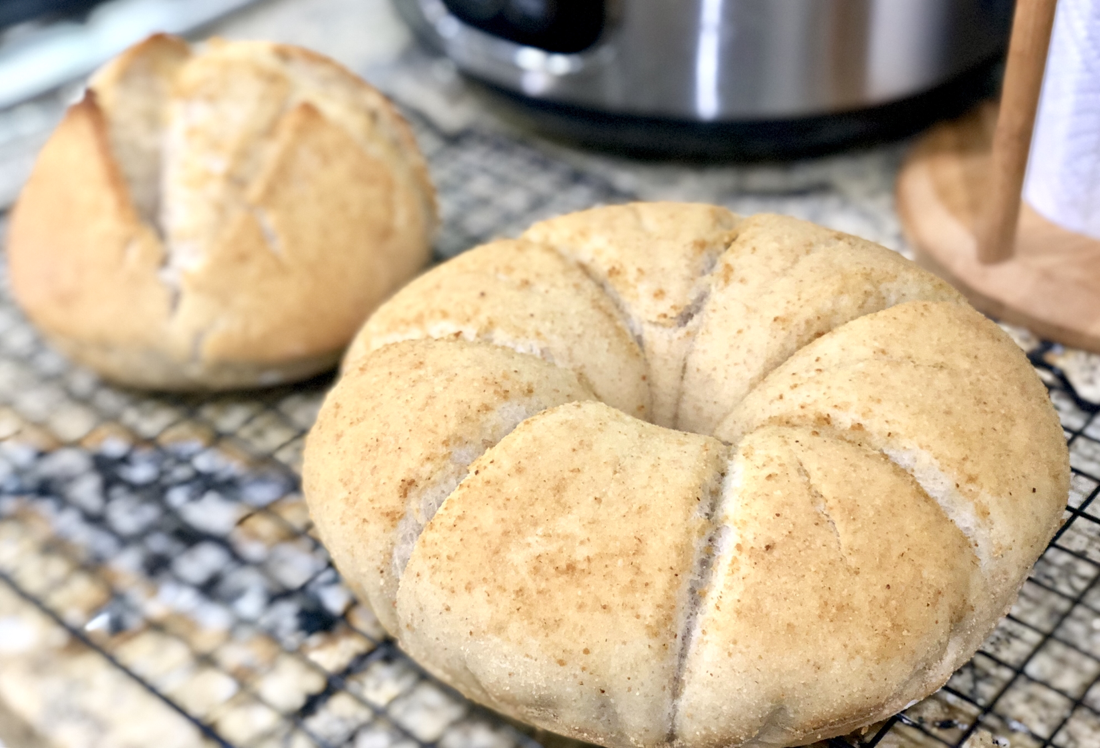
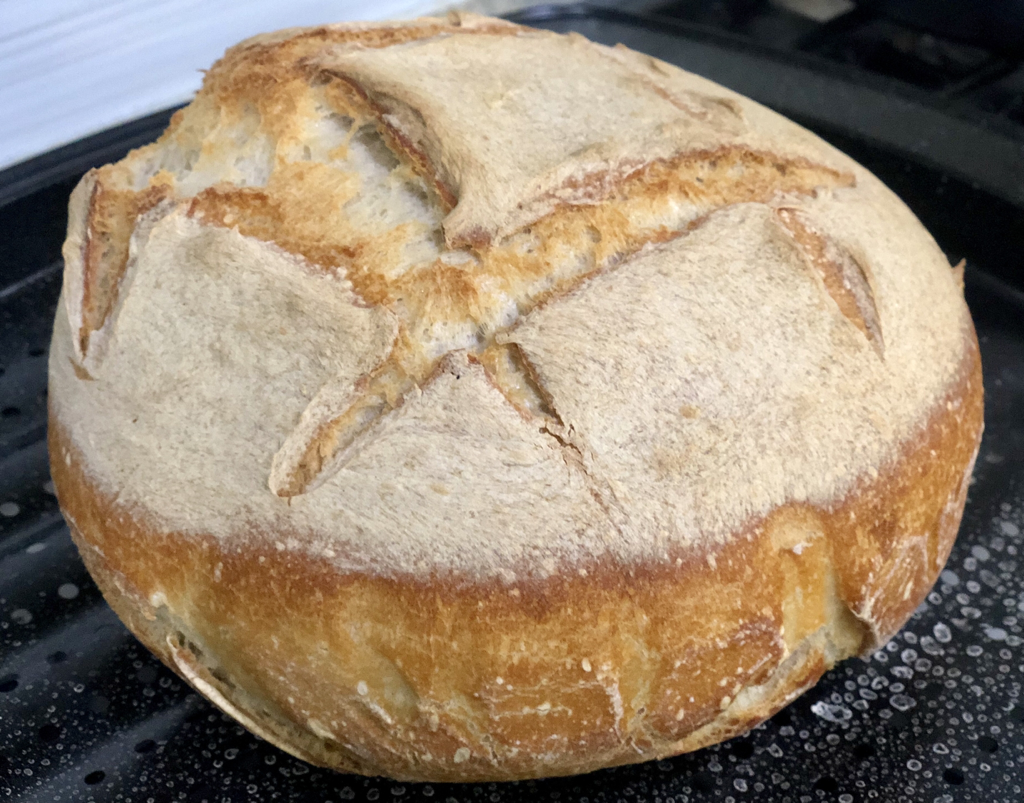
And then came the sourdough starter. Suddenly, it felt like I had a newborn that needed to be fed, put to sleep, required much prepping before I could get a wonderful bread. And then the parenting woes came when some days, I felt like I got it right, and then on other days, I was a complete failure. Today, I just had about it. Enough is enough. I want to go back to the good old days when I just feel my way around baking bread. So I took out my basic white bread recipe from my Breadman manual and after asking Baker Google, I got the conversion ratio for my sourdough starter in lieu of the commercial yeast. One cup of sourdough starter will replace one packet of yeast, which I supposed would be 1-2 tsp. For repeatability purposes, I decided to also weigh the ingredients even though I used cups, tablespoons, and teaspoons. Basic White Bread Water - 1 cup (257 gm) Extra virgin olive oil (EVOO) - 1 tbsp (13 gm) Maple syrup - 1.5 tsp (12 gm) Dry skim milk powder - 1.5 tbsp (9 gm) Salt - 3/4 tsp (6 gm) Bread flour - 3 1/3 cups (445 gm) Sourdough starter - 1 cup (198 gm) I took out my starter from the fridge and weighed. It was about 240 gm. I decided to observe if it would ripen even without having been fed for a week. After 4 hours, it floated on the water. So my “Doughy” is really like a baby. Because I fed it before putting to sleep, it woke up bubbly and happy. This will become my routine. I fed the remaining starter in a 1:1:1 ratio with flour and water, and put it back to the fridge for the next baking day. I dumped all my ingredients into the bread machine pan and used the dough setting. After 1 hour and 30 minutes, I formed the dough and put in the proofing basket. After 1.5 hours, the dough lifted to my desired fluffiness (2 banneton lines). When I pressed my finger on the dough, it felt like a soft marshmallow, and the dent lifted back up slowly. No fancy scoring this time. Just a single stroke slightly off-center at a 30 degree angle with the lame. I didn’t use the bottom rack pan with water for steaming but instead, just used the Dutch oven. I also didn’t increase the heat to 500F but decided to preheat at 425F and bake at 400F because I used EVOO in my ingredient to prolong shelf-life and soften the bread crumb. I noted that the oil gives a different taste when baked at a temperature higher than its smoking point. I baked the bread at 400F covered for 40 minutes. Then took it out from the Dutch oven and laid it on a flat pan. At this point the bread looked pale with some brown areas. I sprayed the crust with my water-salt-EVOO mixture (1/4 cup:1/4 tsp:1/4 tsp ratio) before putting back into the oven. After 5 minutes, I sprayed the crust one more time. That is supposed to render crispiness and a golden color to the crust. I think I found my new routine and my desired daily bread. And if I want a crustier more basic sourdough bread, I’ll just take out the milk, maple syrup, and EVOO from the recipe, increase baking temperature to 450F, and decrease baking time to 30 minutes before spraying with water-salt-EVOO mixture. I guess if you’ve survived parenting beyond teenage years, you’d know how to bake a sourdough the low-key way. My original recipe for sourdough bread gave me a soft crust. My family and I were quite happy with that until I saw other sourdough breads in the Perfect Sourdough facebook group. That challenged me to learn the craft of traditional sourdough bread baking. And do you know what that entailed? Watching lots of youtube videos and even enrolling in Teresa Greenway’s Udemy course Sourdough Bread Baking 101. In the process, I had to buy some needed tools and equipments to up my craft: 1) Digital weighing scale because not all cups are created alike so the volumes can vary and can also be affected by how packed your flour is, and the kind of flour you use. So if you want consistency in your consistency (I love that word pun), then yes, please invest in a scale. Teresa recommended the KD8000 Baker’s Math Scale. I’m very happy with it. 2) A proofing basket because you want to see those ridges on your bread even just for once, right? I bought this two-pack Banneton basket and put plastic shower caps over it. I know that’s cheating but I don’t want to clean off the flour each time. I just like the design imprinting on my bread not the bread sticking to it. 3) Scoring Lame because without it, scoring is lame. I’ve used knives with poor results. I know this is just a regular Gilette blade which you can stabilize with a chopstick. But the leather covering makes up for the price. I may have added tools in my kitchen but I subtracted ingredients in my sourdough recipe as a result of this sourdough education. Apparently, you bake traditional sourdough bread with a sourdough starter, all-purpose unbleached flour, water, and salt. That’s all. And you bake it at 450F.
No wonder my breads always come out pale and soft and not the crusty golden ones I see online. With much practice and experimentation, I got better and got deeper into the flour of things. It’s a joy and an obsession that’s hard to brush off. The quest for the perfect sourdough gets more elusive as you get better. I don’t know why. When the crumb is soft, the crust is not crispy enough. When the crust is crispy, the scoring is not pretty enough, and so on and so forth. And when finally one day I felt I got it, I had to experiment with other types of starters, namely rye, brown rice, and spelt. And the process starts all over the again. I guess you can say, the evolution goes on. |




 RSS Feed