|
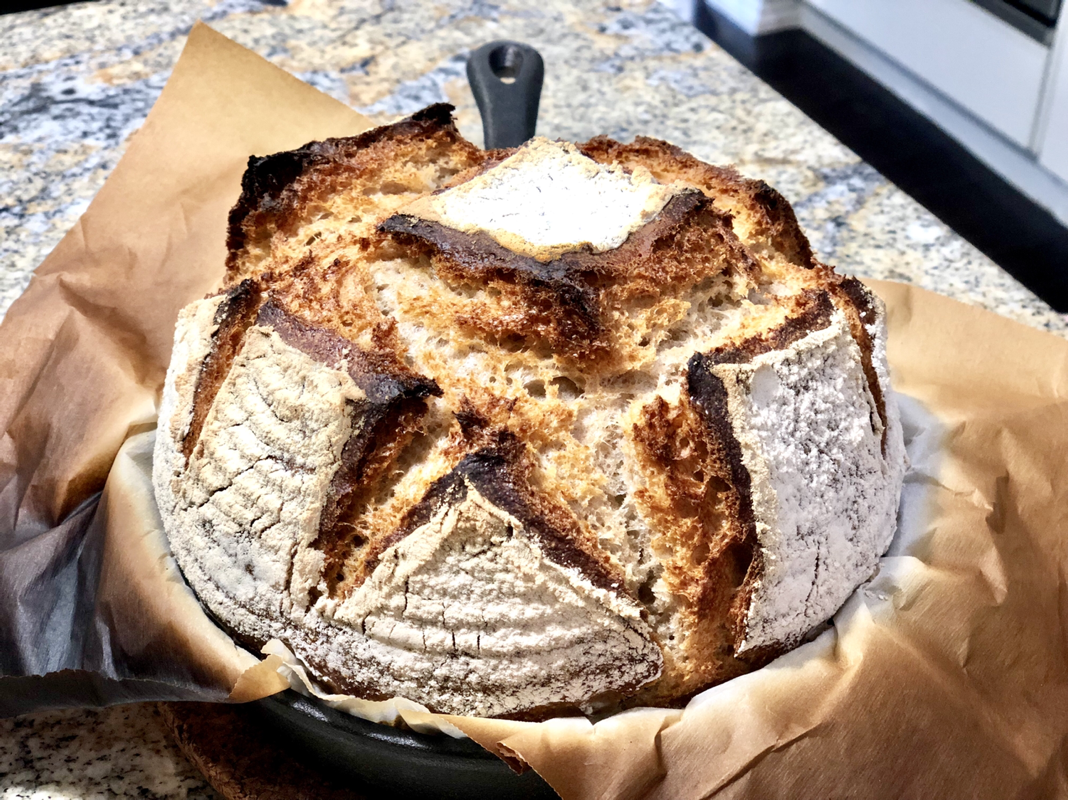
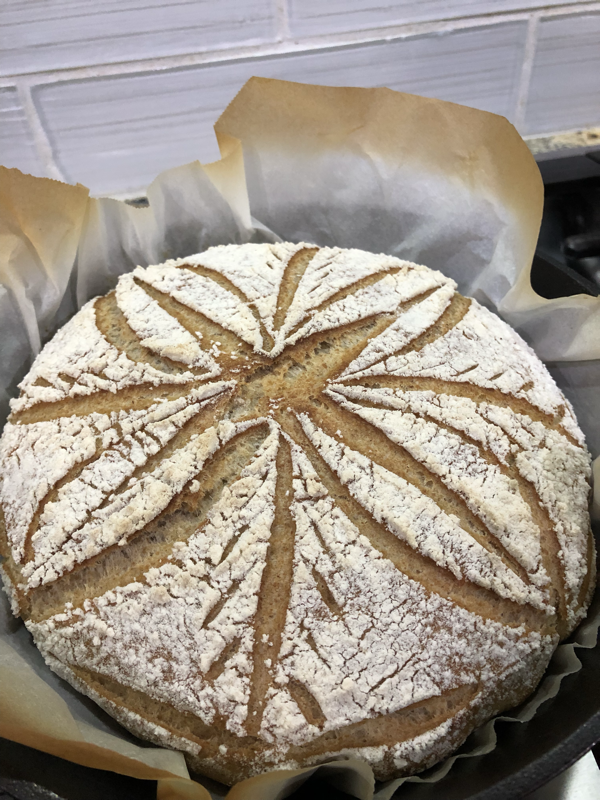
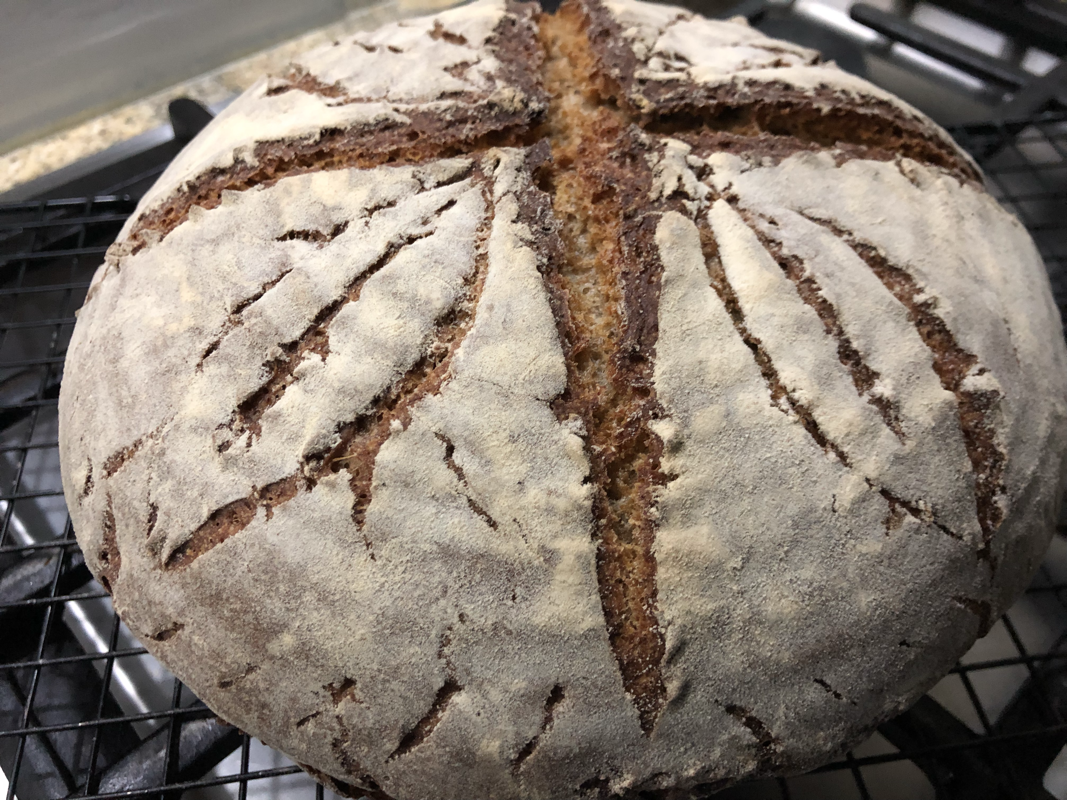
Breadmaking used to be a no-fuss task for me. I dump all my ingredients in the bread machine in the evening, set the delay timer on, and wake up to the smell of freshly-baked bread. And then came the sourdough starter. Suddenly, it felt like I had a newborn that needed to be fed, put to sleep, required much prepping before I could get a wonderful bread. And then the parenting woes came when some days, I felt like I got it right, and then on other days, I was a complete failure. Today, I just had about it. Enough is enough. I want to go back to the good old days when I just feel my way around baking bread. So I took out my basic white bread recipe from my Breadman manual and after asking Baker Google, I got the conversion ratio for my sourdough starter in lieu of the commercial yeast. One cup of sourdough starter will replace one packet of yeast, which I supposed would be 1-2 tsp. For repeatability purposes, I decided to also weigh the ingredients even though I used cups, tablespoons, and teaspoons. Basic White Bread Water - 1 cup (257 gm) Extra virgin olive oil (EVOO) - 1 tbsp (13 gm) Maple syrup - 1.5 tsp (12 gm) Dry skim milk powder - 1.5 tbsp (9 gm) Salt - 3/4 tsp (6 gm) Bread flour - 3 1/3 cups (445 gm) Sourdough starter - 1 cup (198 gm) I took out my starter from the fridge and weighed. It was about 240 gm. I decided to observe if it would ripen even without having been fed for a week. After 4 hours, it floated on the water. So my “Doughy” is really like a baby. Because I fed it before putting to sleep, it woke up bubbly and happy. This will become my routine. I fed the remaining starter in a 1:1:1 ratio with flour and water, and put it back to the fridge for the next baking day. I dumped all my ingredients into the bread machine pan and used the dough setting. After 1 hour and 30 minutes, I formed the dough and put in the proofing basket. After 1.5 hours, the dough lifted to my desired fluffiness (2 banneton lines). When I pressed my finger on the dough, it felt like a soft marshmallow, and the dent lifted back up slowly. No fancy scoring this time. Just a single stroke slightly off-center at a 30 degree angle with the lame. I didn’t use the bottom rack pan with water for steaming but instead, just used the Dutch oven. I also didn’t increase the heat to 500F but decided to preheat at 425F and bake at 400F because I used EVOO in my ingredient to prolong shelf-life and soften the bread crumb. I noted that the oil gives a different taste when baked at a temperature higher than its smoking point. I baked the bread at 400F covered for 40 minutes. Then took it out from the Dutch oven and laid it on a flat pan. At this point the bread looked pale with some brown areas. I sprayed the crust with my water-salt-EVOO mixture (1/4 cup:1/4 tsp:1/4 tsp ratio) before putting back into the oven. After 5 minutes, I sprayed the crust one more time. That is supposed to render crispiness and a golden color to the crust. I think I found my new routine and my desired daily bread. And if I want a crustier more basic sourdough bread, I’ll just take out the milk, maple syrup, and EVOO from the recipe, increase baking temperature to 450F, and decrease baking time to 30 minutes before spraying with water-salt-EVOO mixture. I guess if you’ve survived parenting beyond teenage years, you’d know how to bake a sourdough the low-key way. 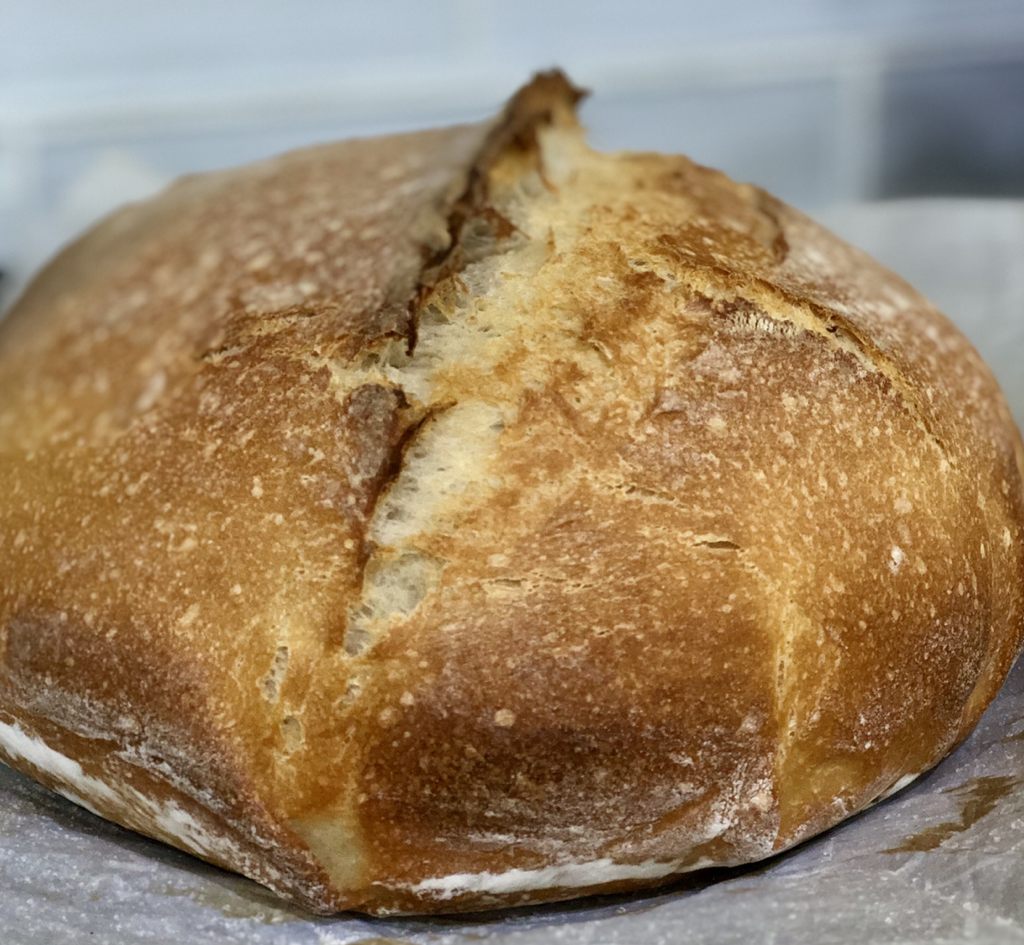
0 Comments
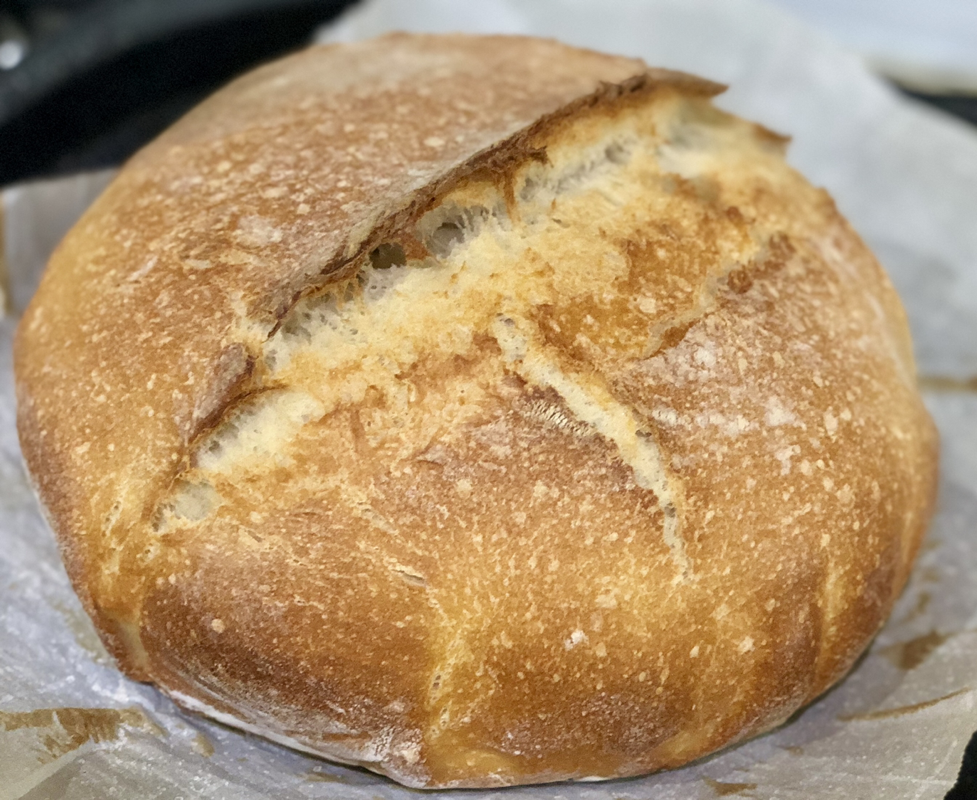
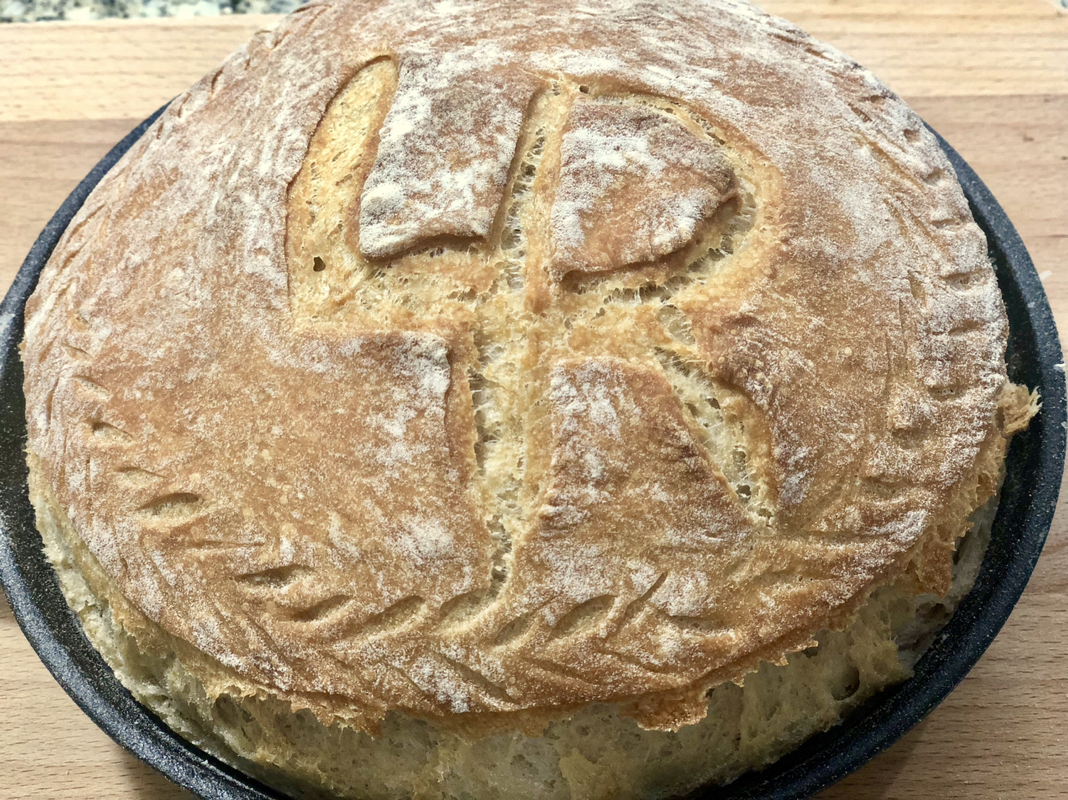
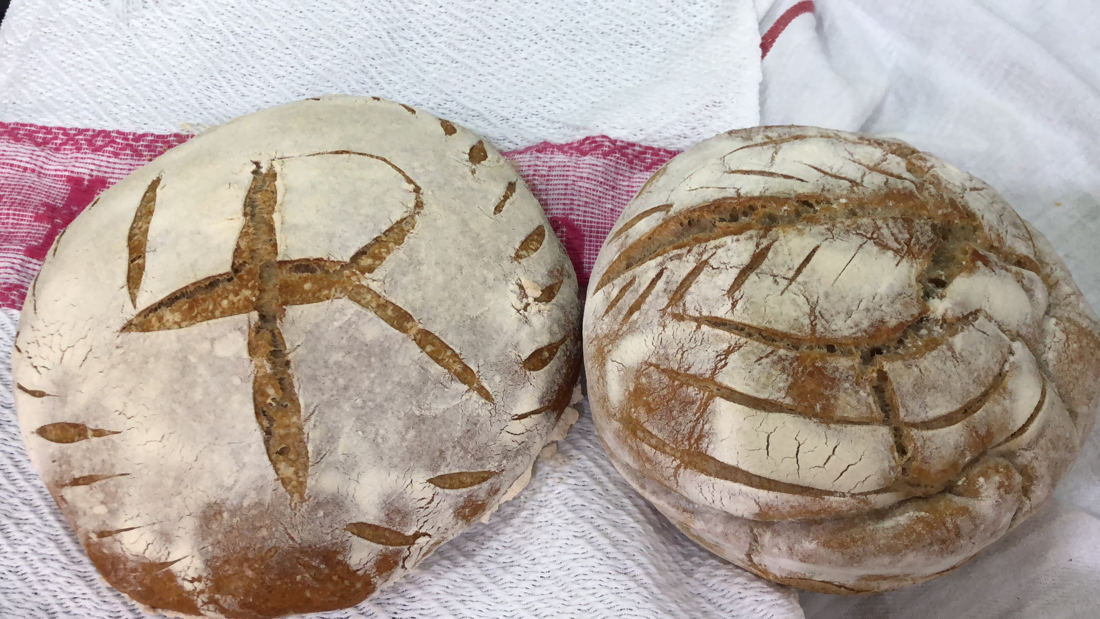
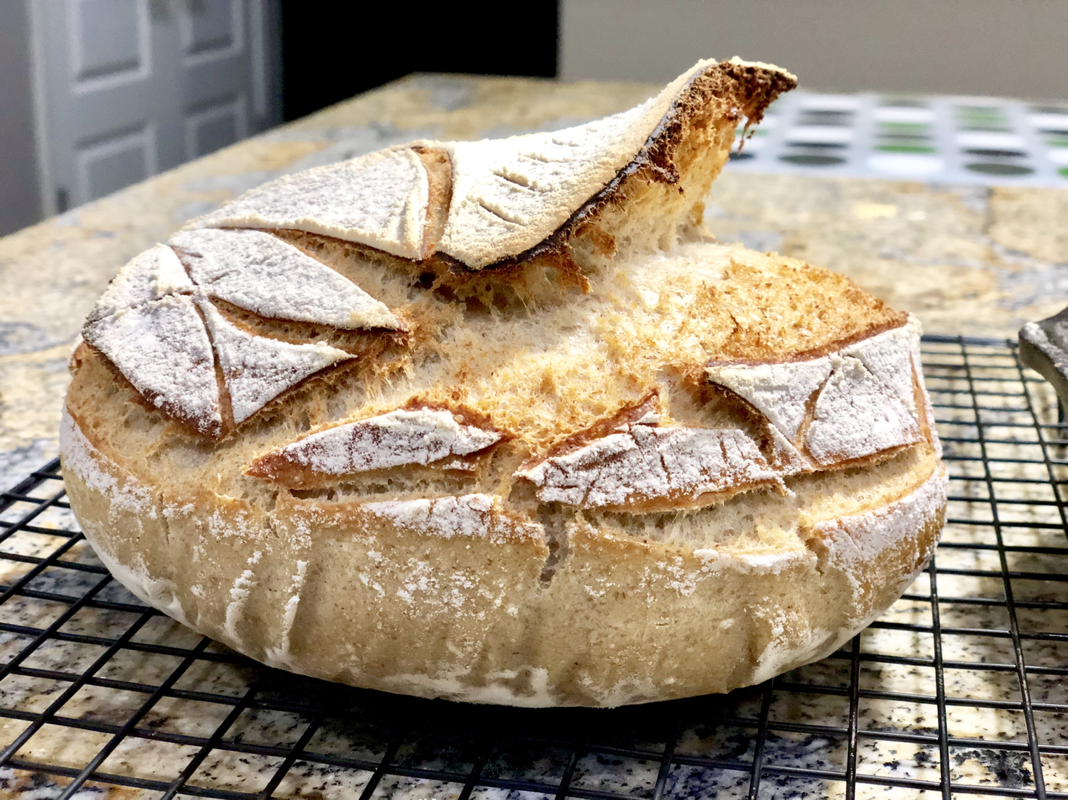
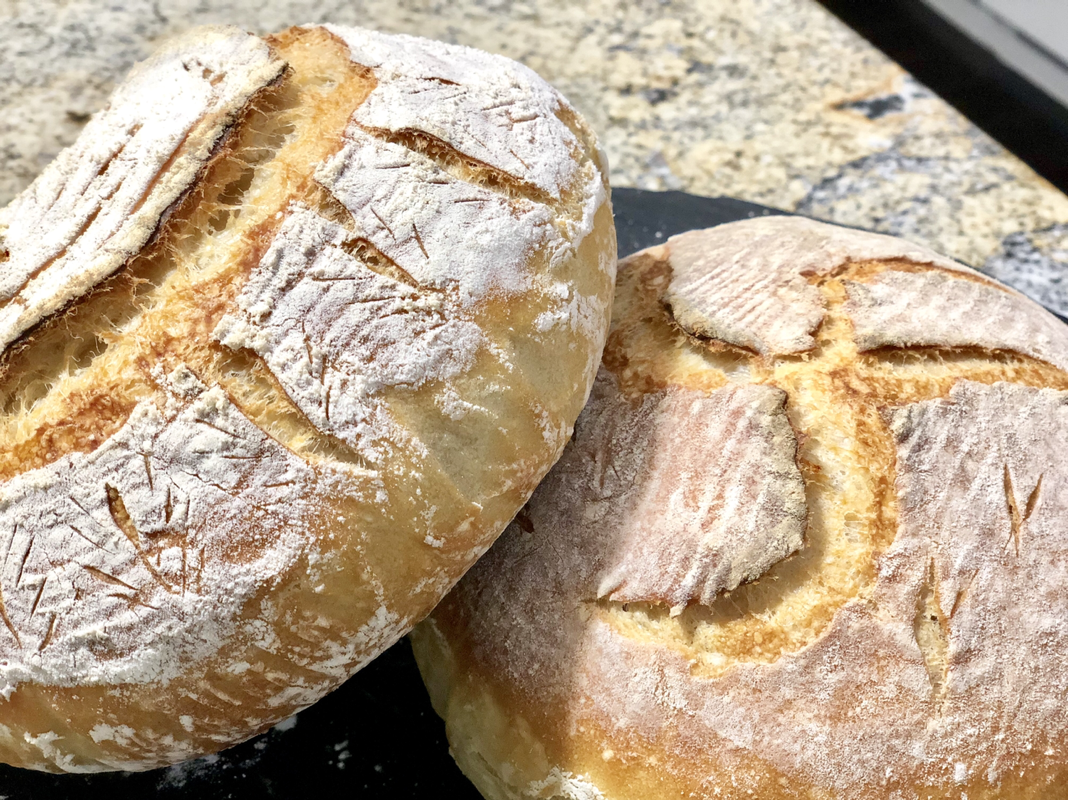
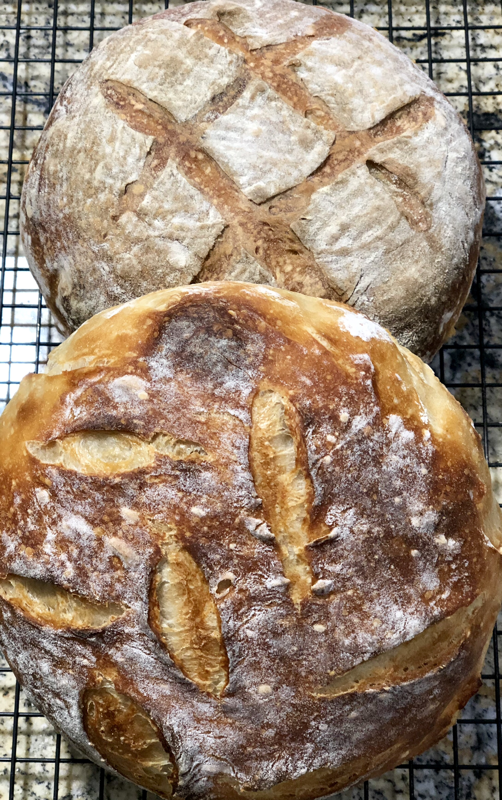
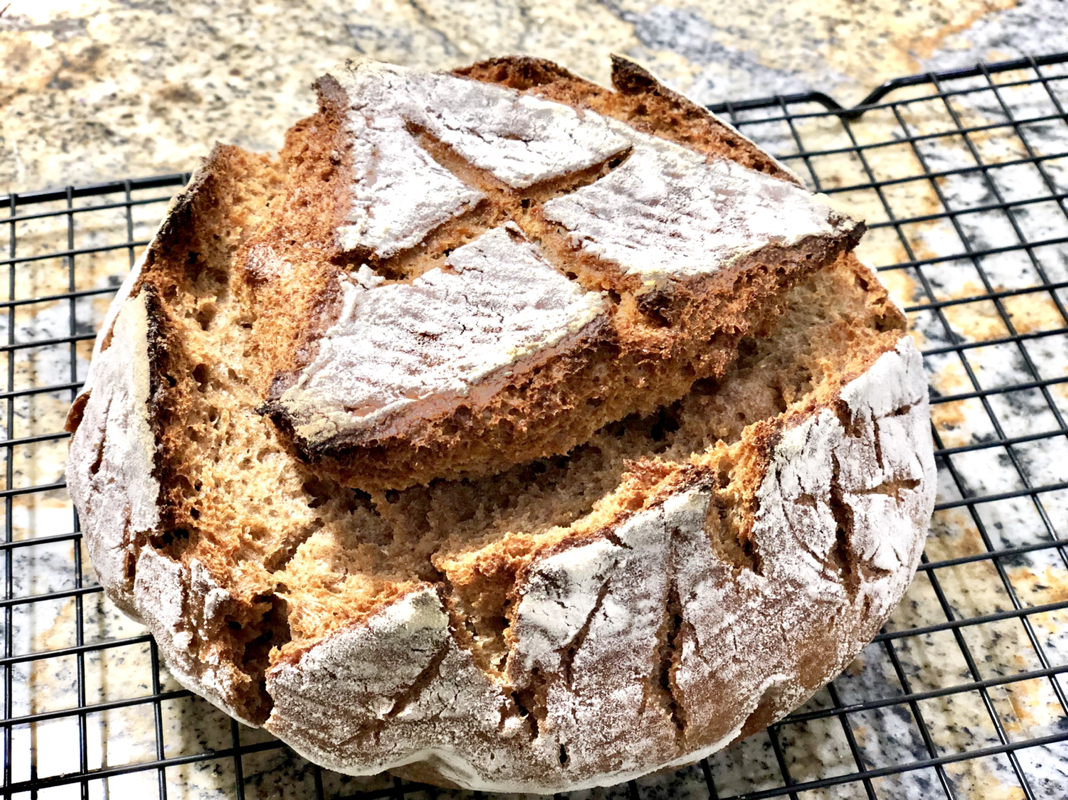
My original recipe for sourdough bread gave me a soft crust. My family and I were quite happy with that until I saw other sourdough breads in the Perfect Sourdough facebook group. That challenged me to learn the craft of traditional sourdough bread baking. And do you know what that entailed? Watching lots of youtube videos and even enrolling in Teresa Greenway’s Udemy course Sourdough Bread Baking 101. In the process, I had to buy some needed tools and equipments to up my craft: 1) Digital weighing scale because not all cups are created alike so the volumes can vary and can also be affected by how packed your flour is, and the kind of flour you use. So if you want consistency in your consistency (I love that word pun), then yes, please invest in a scale. Teresa recommended the KD8000 Baker’s Math Scale. I’m very happy with it. 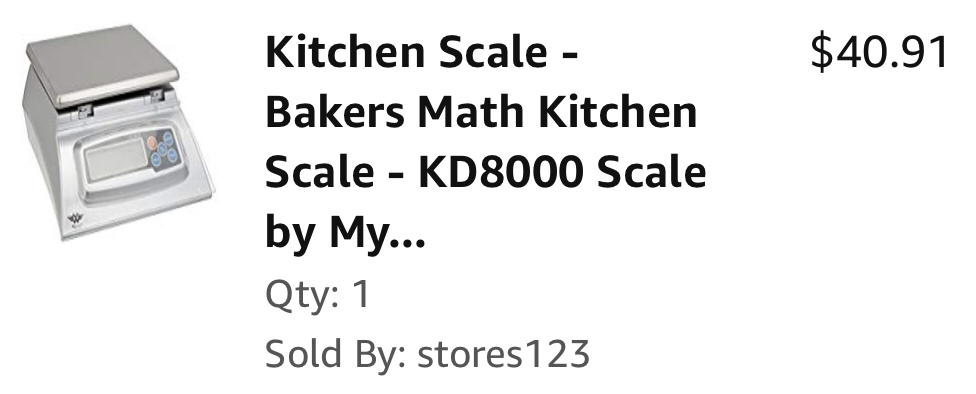 2) A proofing basket because you want to see those ridges on your bread even just for once, right? I bought this two-pack Banneton basket and put plastic shower caps over it. I know that’s cheating but I don’t want to clean off the flour each time. I just like the design imprinting on my bread not the bread sticking to it. 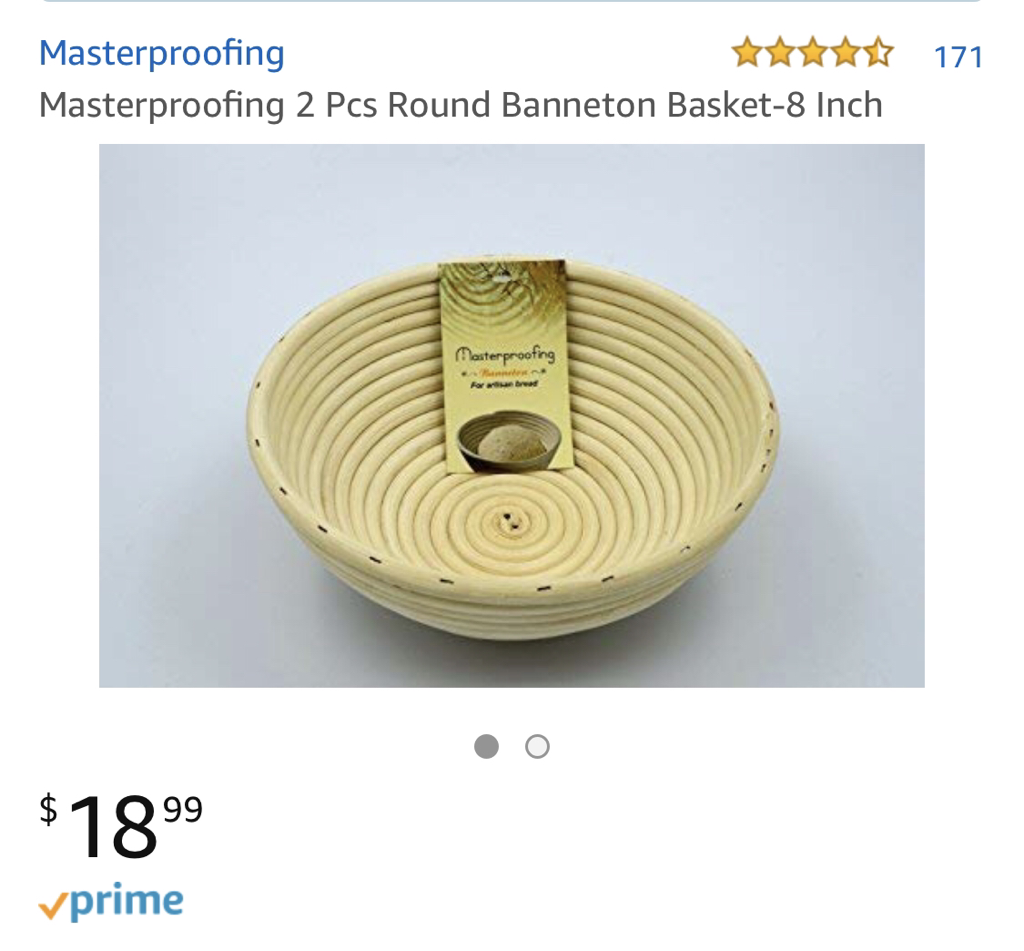 3) Scoring Lame because without it, scoring is lame. I’ve used knives with poor results. I know this is just a regular Gilette blade which you can stabilize with a chopstick. But the leather covering makes up for the price. 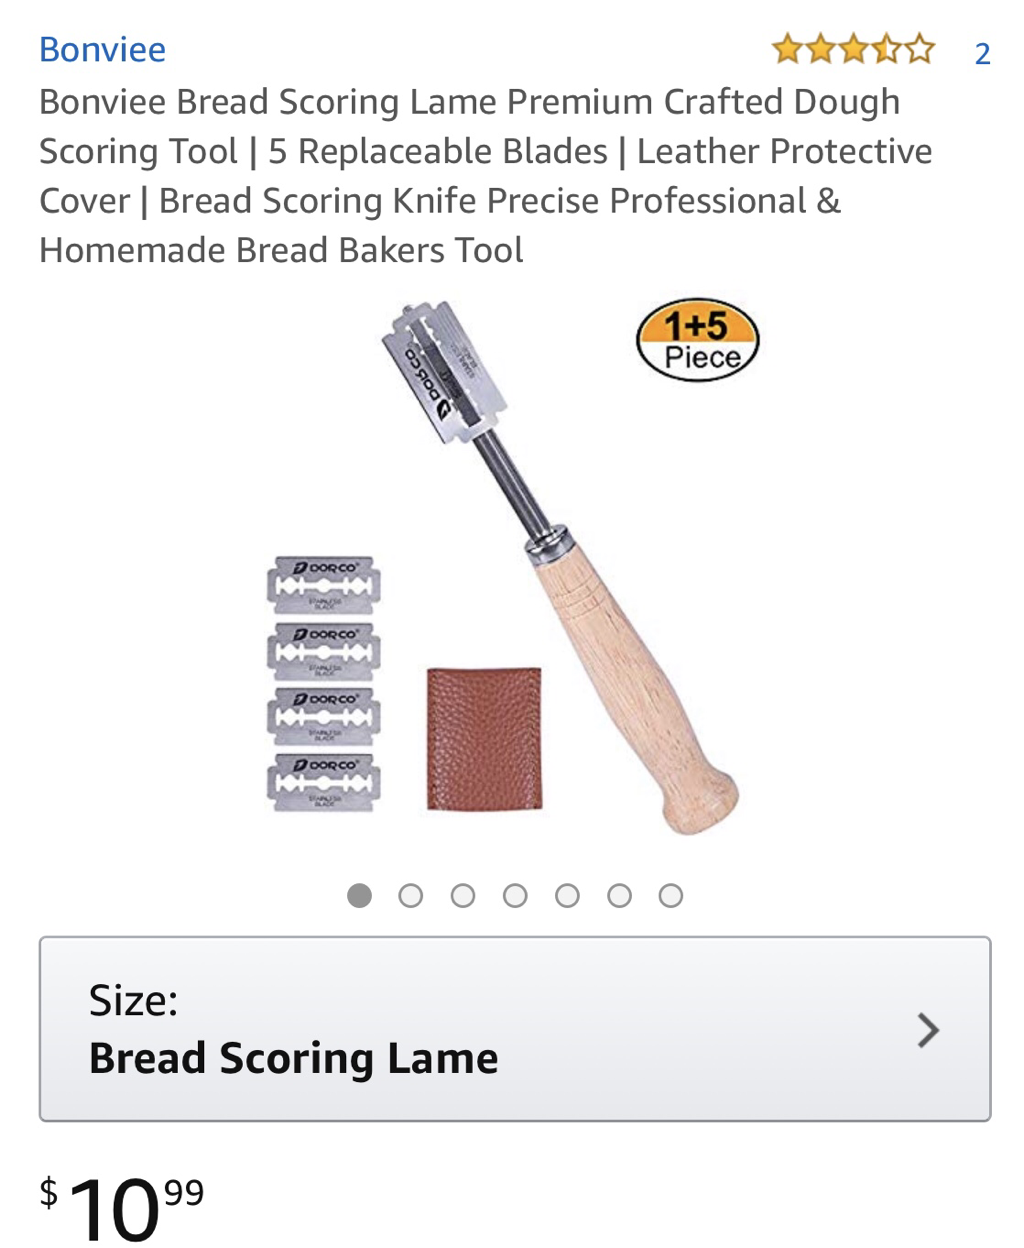 I may have added tools in my kitchen but I subtracted ingredients in my sourdough recipe as a result of this sourdough education. Apparently, you bake traditional sourdough bread with a sourdough starter, all-purpose unbleached flour, water, and salt. That’s all. And you bake it at 450F. No wonder my breads always come out pale and soft and not the crusty golden ones I see online. With much practice and experimentation, I got better and got deeper into the flour of things. It’s a joy and an obsession that’s hard to brush off. The quest for the perfect sourdough gets more elusive as you get better. I don’t know why. When the crumb is soft, the crust is not crispy enough. When the crust is crispy, the scoring is not pretty enough, and so on and so forth. And when finally one day I felt I got it, I had to experiment with other types of starters, namely rye, brown rice, and spelt. And the process starts all over the again. I guess you can say, the evolution goes on.  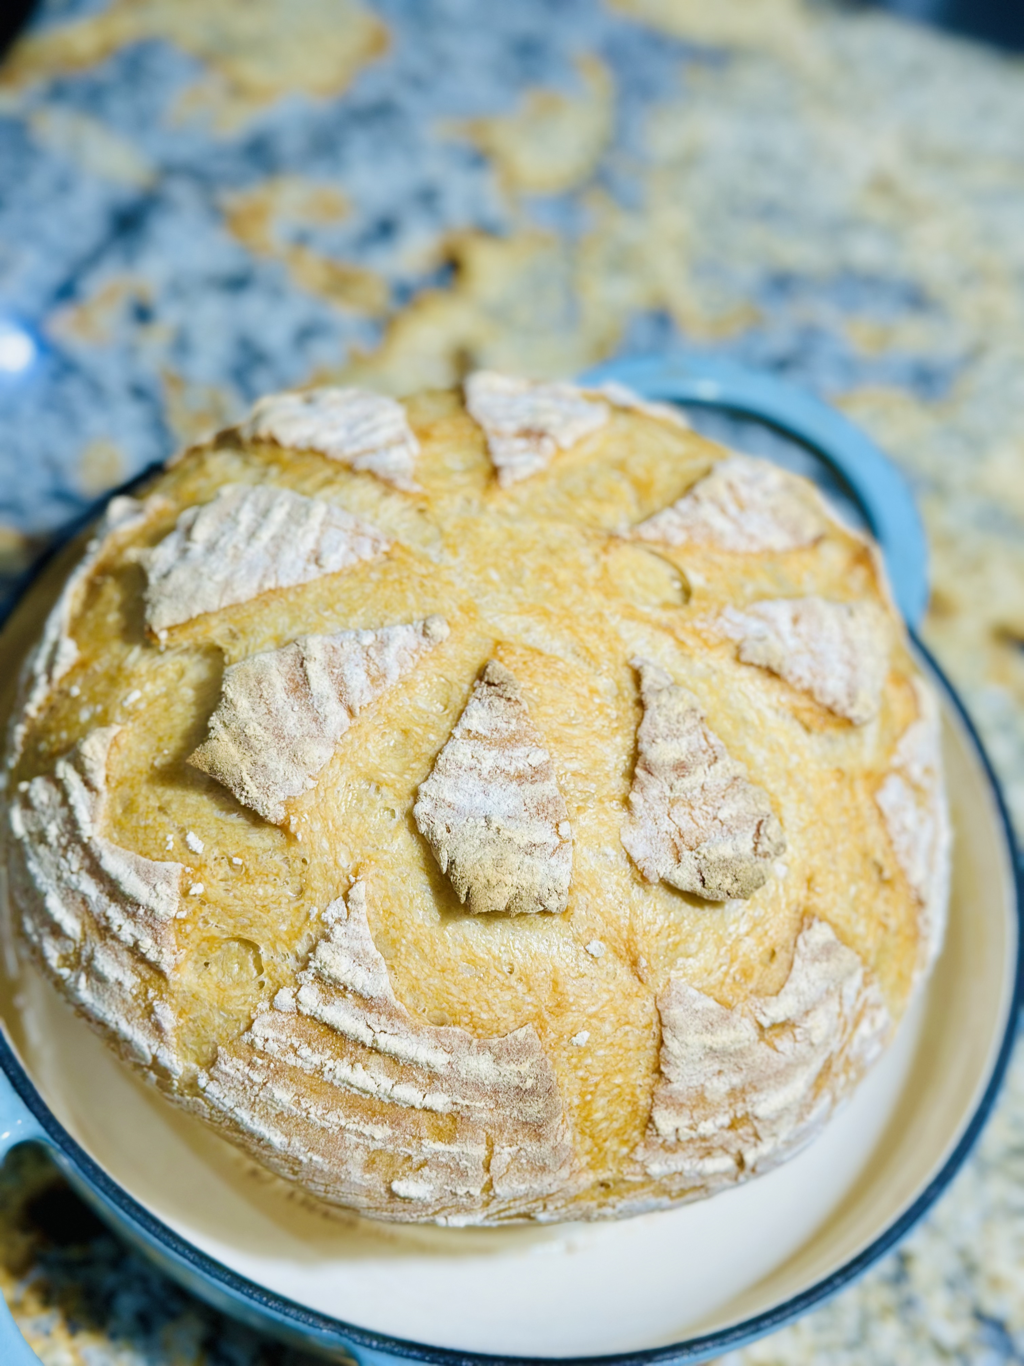 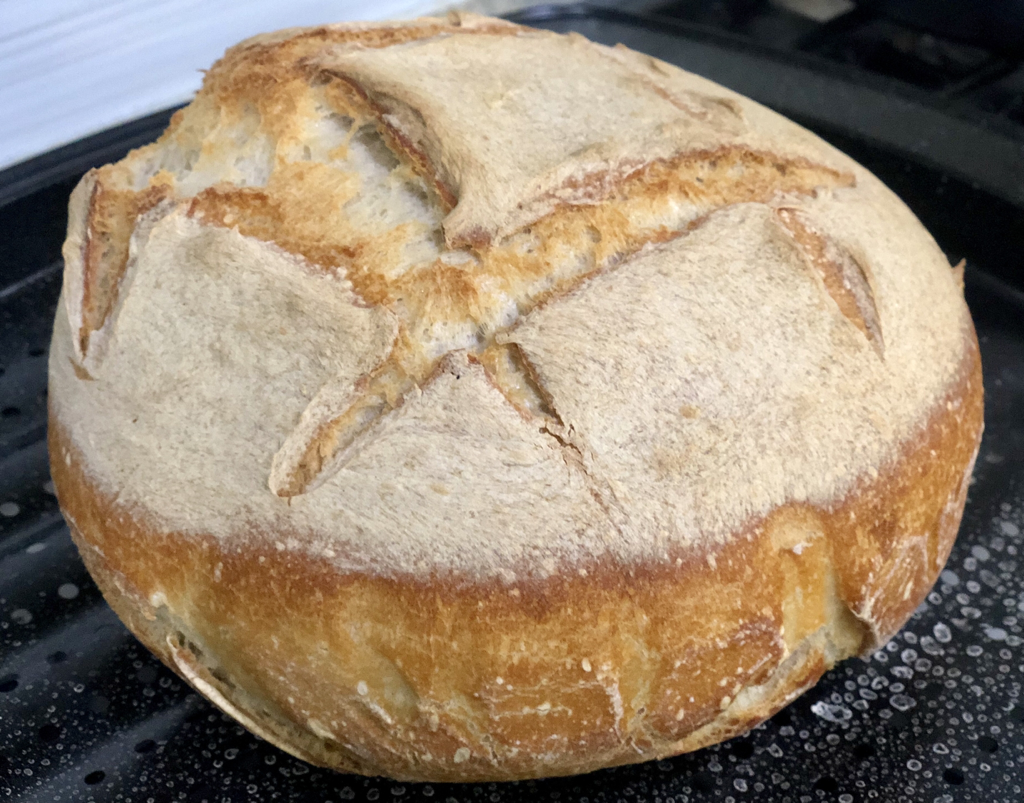 |


 RSS Feed